When I originally designed this shadow box card I planned on using it as a Father’s Day template for cutting machines. However, as I continued working I realized how versatile the card itself could be. I continued customizing and eventually ended up with THREE (so far) different templates that make use of this wonderful base.

Recycle Your Templates
I love the idea of repurposing things, and digital templates are no exception! If you have one of my shadow box card files you should be able to create endless designs by combining them with my other mini items. I have added the templates I mentioned above to my online shop to help get you started, but the things I design are intended to all work well together. Grab another plant or planter from my shop and customize your card EXACTLY the way YOU want it.
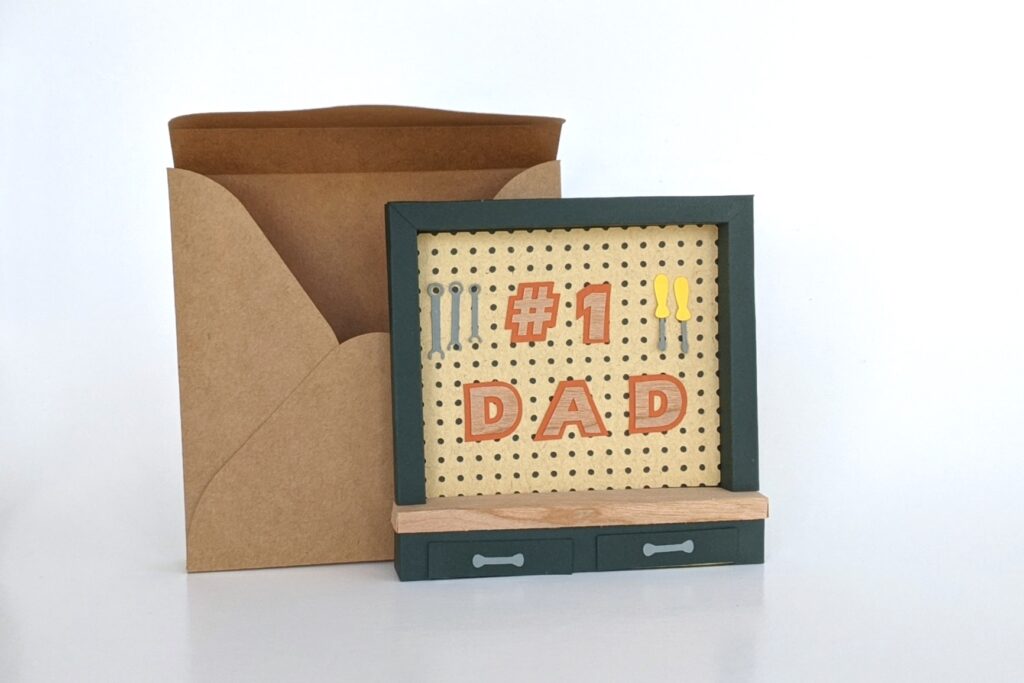
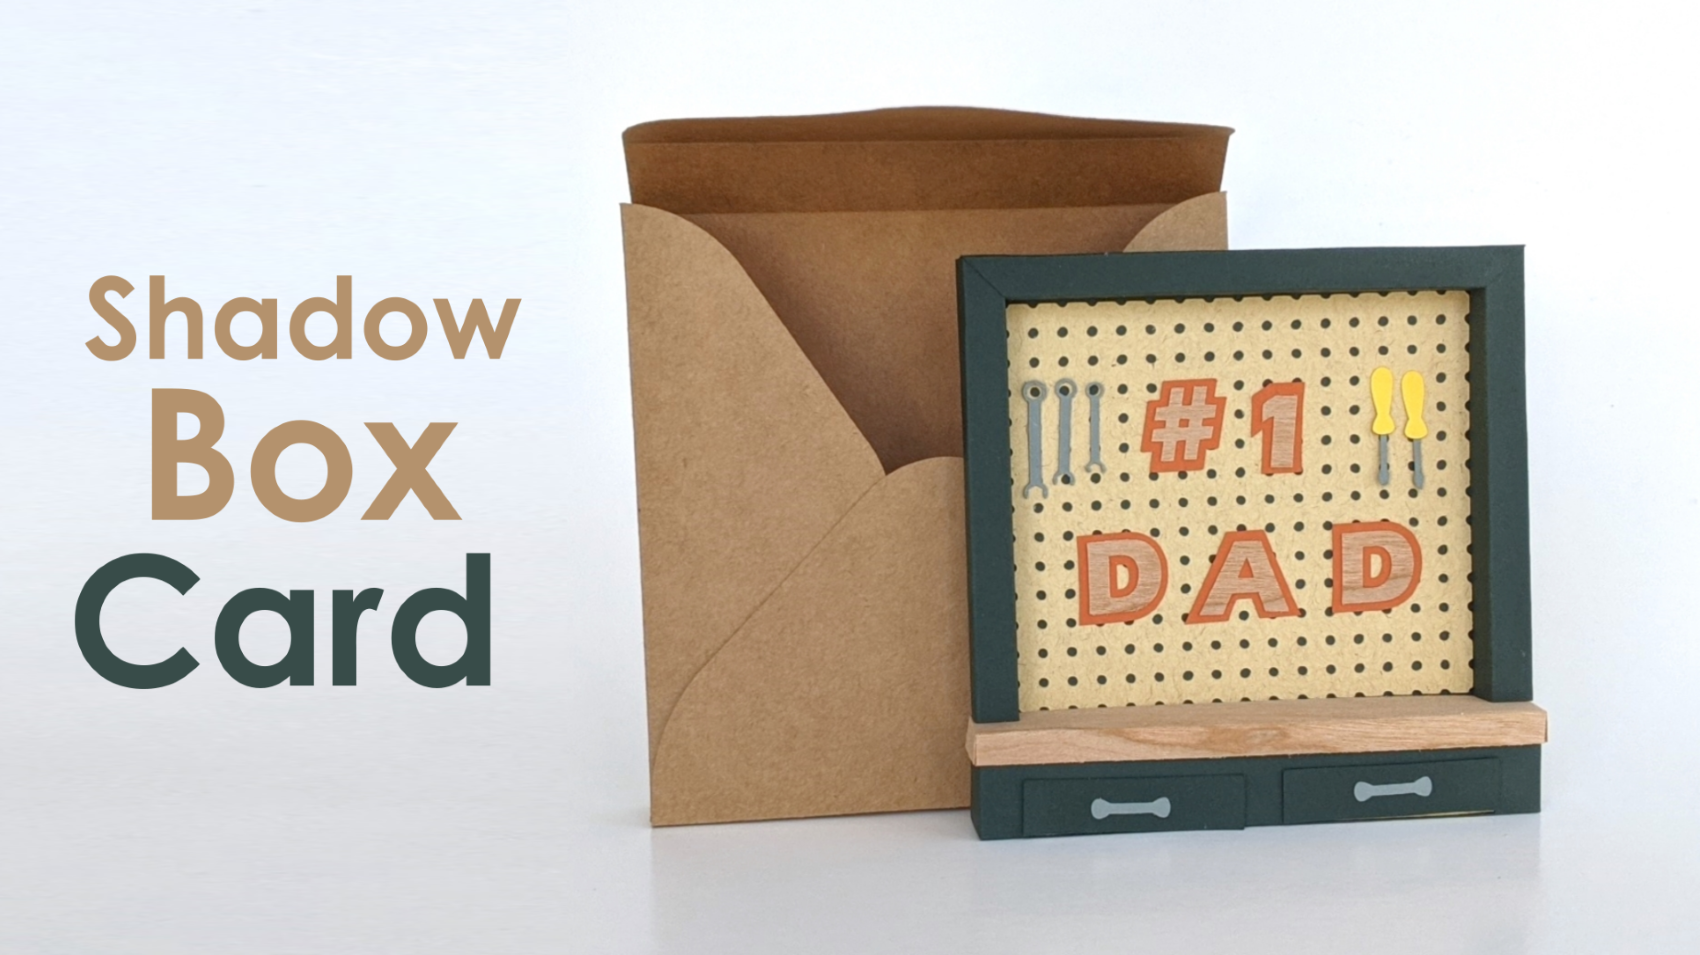
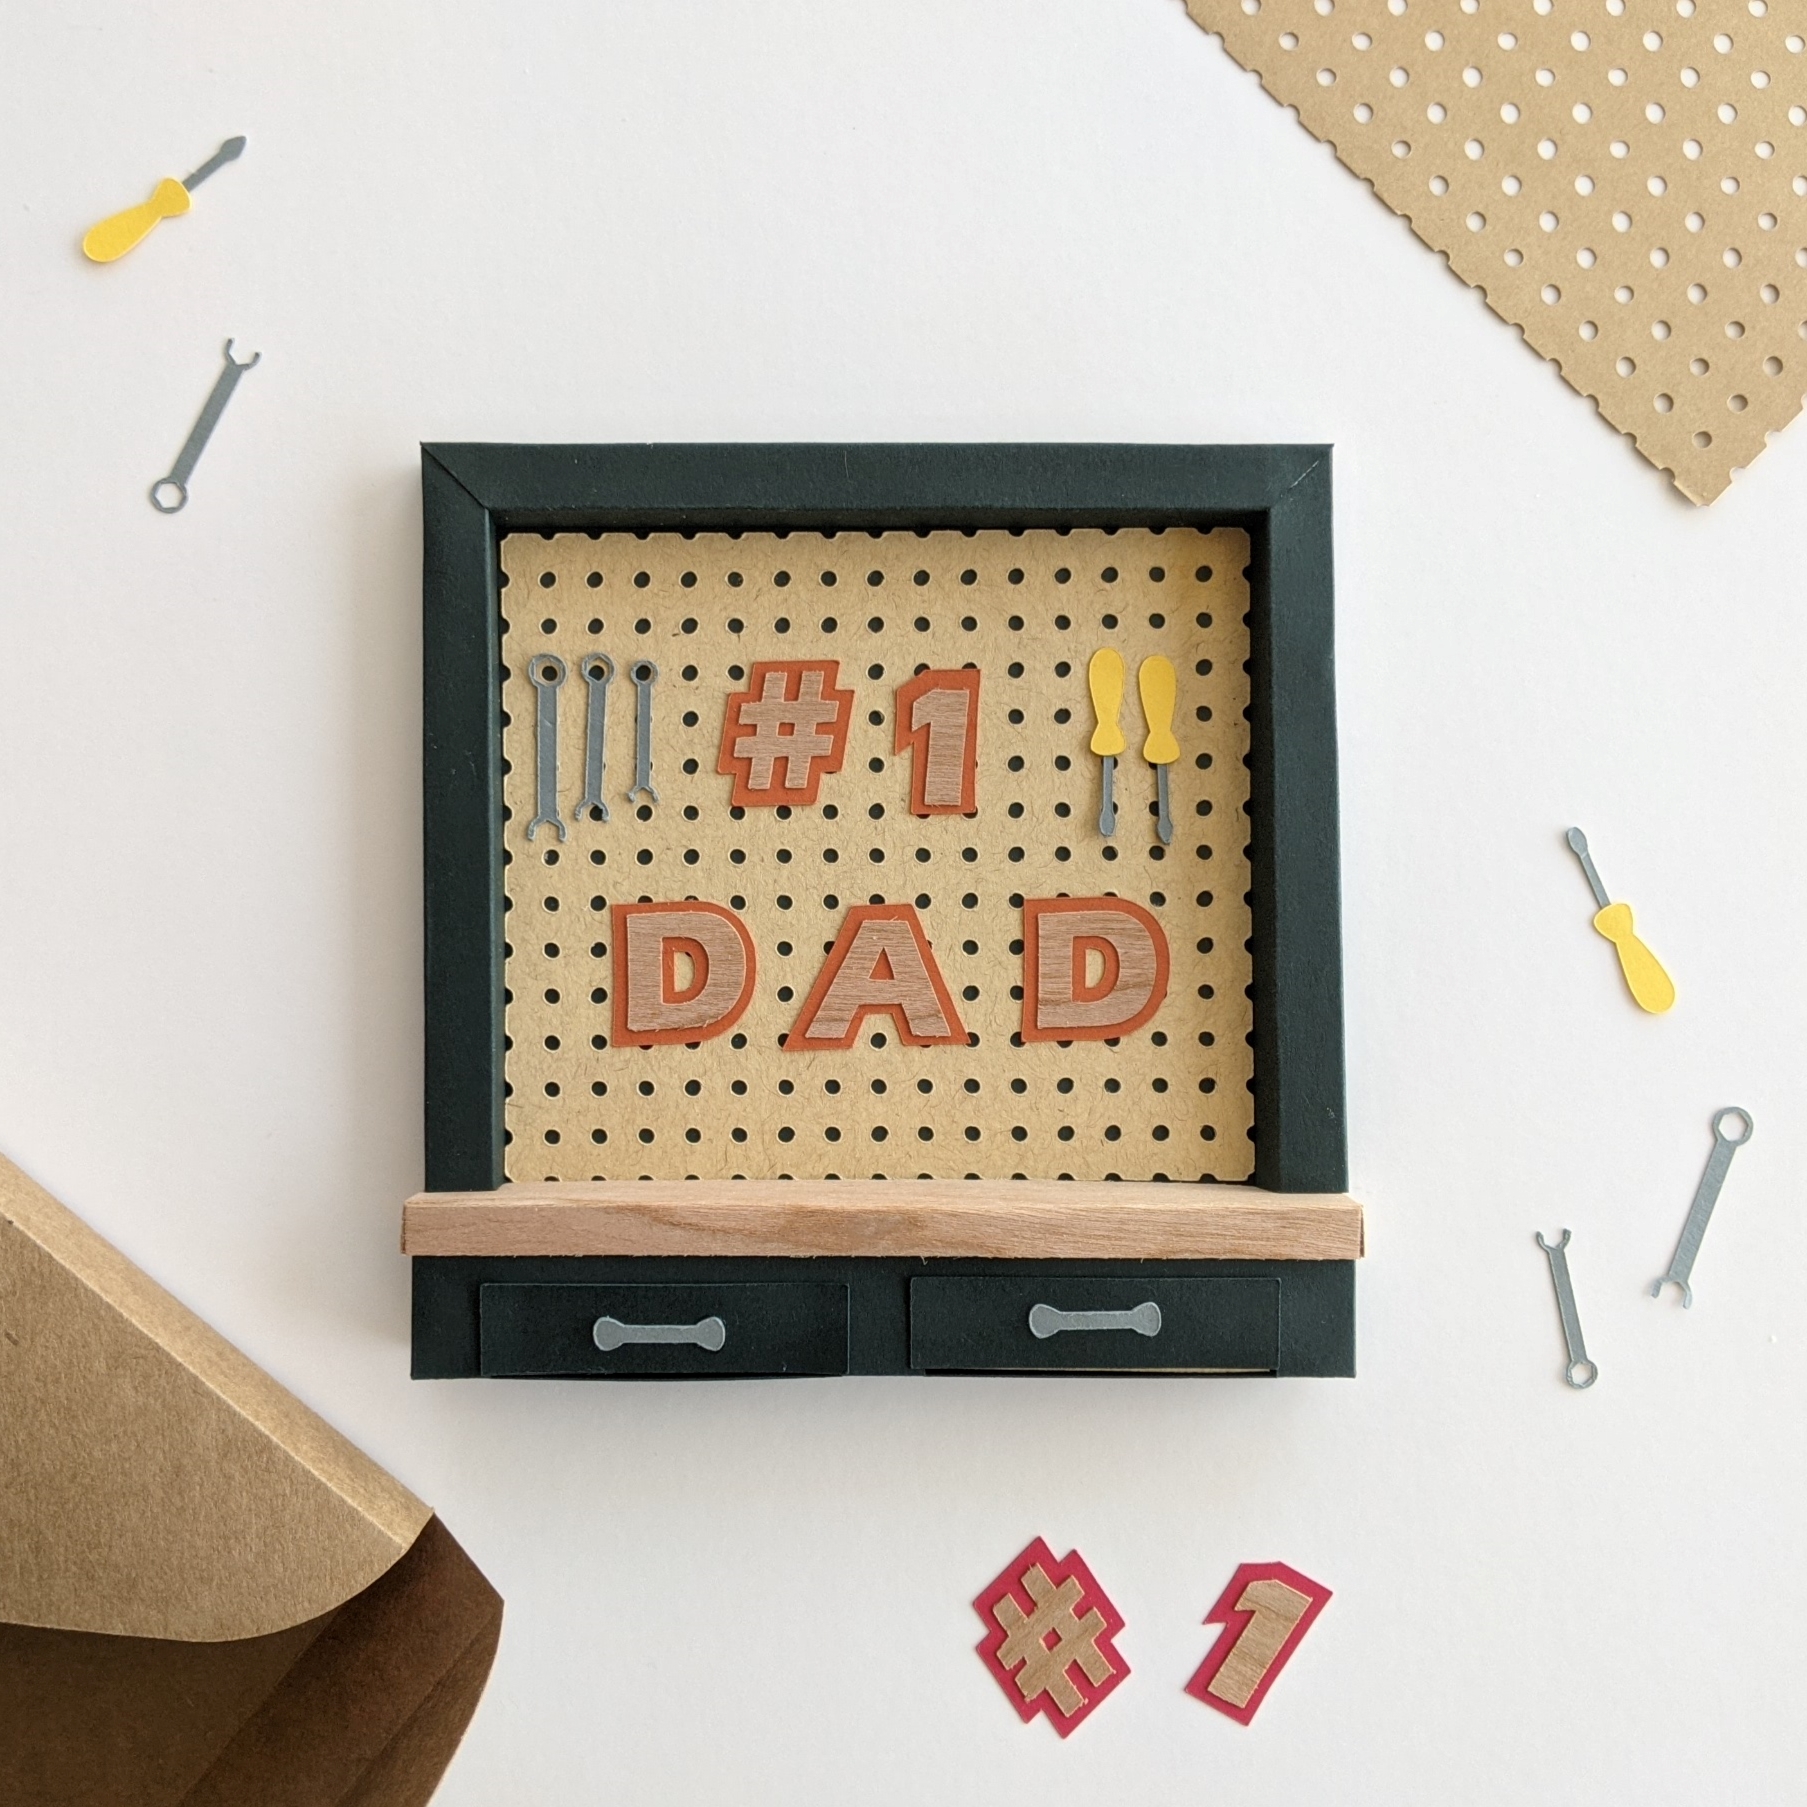
Father’s Day Shadow Box
The card in the tutorial and video below is the Father’s Day card. It features a tool shelf background, wooden cutout letters, and a wooden tabletop above the fully functional drawers. The wood veneer paper is something I recently discovered over at Cardstock Warehouse and I am OBSESSED with it. I cannot wait to order more! You can find a link to the Timberluxe Wood Veneer here. (This is not an affiliate link, I am just really excited about this product)! It absorbs markers well, so it can be ‘stained’ like real wood, and it cut so beautifully for making the tiny wooden letters on this card.
Through The Window
Next I wanted, no needed, to find another excuse to use the wood veneer paper. I realized it would make the perfect window frame for a Graduation card. I cut another card base with my machine and folded it up. Then, I did a quick wash of blue/purple water on the background to give a sunny day effect. After that – it was time for the window frame! I kept it simple so the wood would be noticeable, then added a potted plant in front of the window. The template I uploaded features a mini graduation hat and “Congrats Grad” text, but the design is suitable for any occasion.

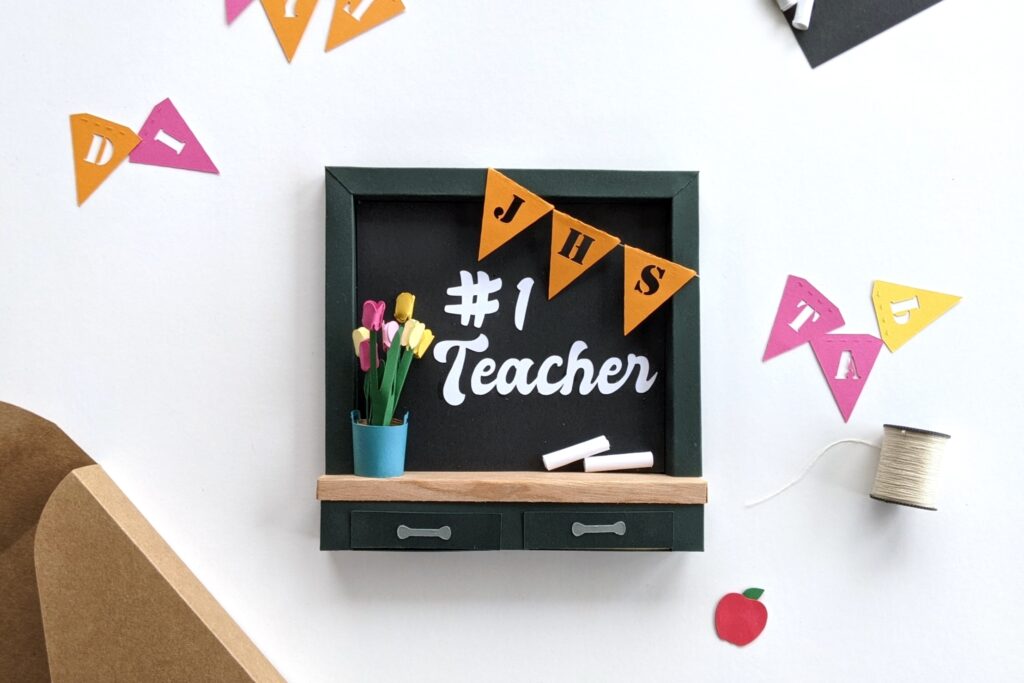
Teacher Appreciation Card
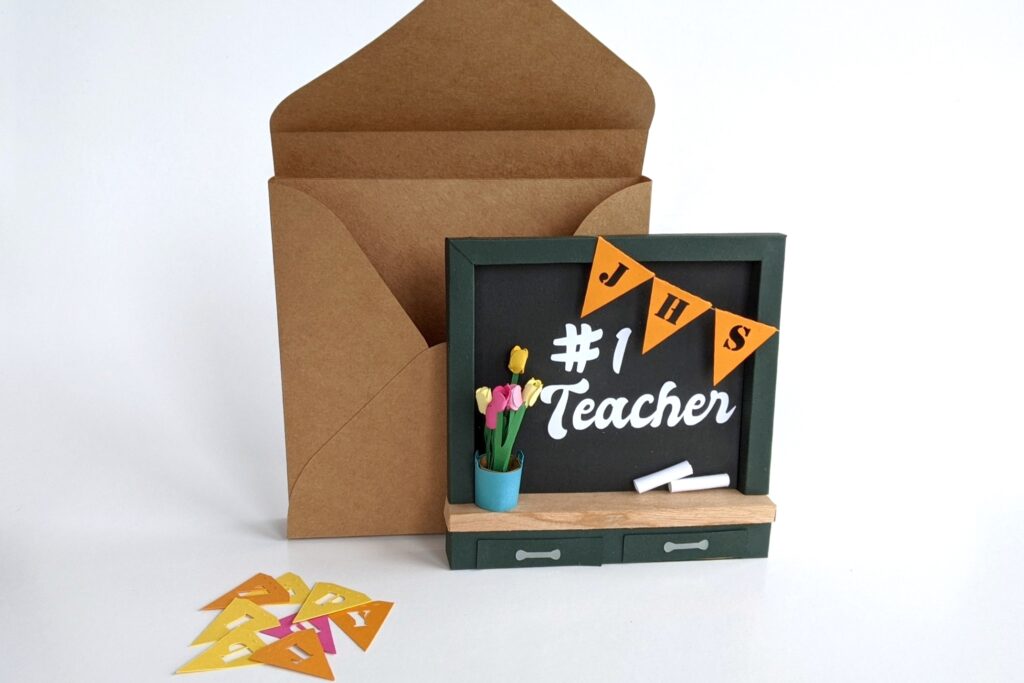
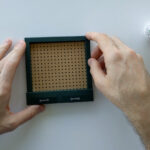
Lastly, as I was making the Grad card I realize how perfectly suited the template is for a mini chalkboard! Since it was the end of the school year I wanted to create something for teacher appreciation. This gave me the perfect opportunity. After building another card base I cut a solid black square as the background and made mini roll up chalk pieces. I designed a tiny flag banner earlier which added the perfect touch. It can be customized to reflect the school name or abbreviation. The template also includes a pail of tiny tulips (necessary!), a tutorial of which can be found in my latest blog post.
Supplies, Supplies, Supplies
Cutting all these intricate cards on my Cricut Maker is a huge time saver. The cards are possible to cut by hand, but cutting them so quickly thanks to the Cricut technology allows me to make the multiple variations that I have mentioned here in a short amount of time.
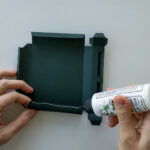
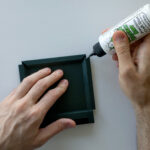
The craft glue you see me using in these photos/videos is from Bearly Art. I make it a point to reference them by name because I get asked on nearly everything I post about the type of glue I am using. The glue dries quickly which is a must, but if you watch any of my mini assembly videos you will understand how amazing their ultra fine tip is! Links to Bearly Art from my website carry over with a 10% discount automatically applied at checkout (as I am a member of their affiliate program).
What Are You Waiting For?
Grab the template from my shop (or quick purchase links below) and scroll down to view the written instructions/video overview for assembling this functional shadow box card.


Disclosure: this post features affiliate links (noted with bold), meaning if you purchase the product via my link I could earn a small commission. All products referenced are items I personally use for my crafts.
Shadow Box Card with Drawers

Create this AMAZING and highly customizable shadow box card and envelope for any gifting occasion.
- Cutting Machine
- 65lb Cardstock
- Craft Glue
Begin by scaling your shapes in your design software (I am using Cricut Design Space). There are notes inside the download folder that specify the dimensions required if you intend to cut from 8.5×11 or 12×12 cardstock.
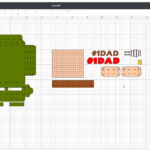
Arrange your cut shapes in your workspace, make sure everything is accounted for so you don't have to go back and cut something while you're assembling.

Begin with the card base and crease all of the folds inward. Glue each of the sides (left, right, top, bottom) in on itself to form a 3D shape.
Glue the joint on the top left and top right corners to hold the shape of the card.
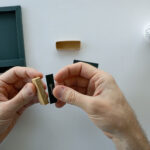
Crease the folds for both of the drawer boxes and glue together to form two small boxes.

Glue the handle and drawer front onto each of the boxes from the pervious step. Align the drawer front bottom flush with the bottom of the drawer (see close up in video below).
Glue the backboard in place.
Crease the folds for the tabletop, the glue the two tabs to form the table top shape.
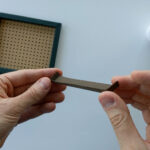
Glue the table top in place on top of the drawer section of the card. This piece should slide all the way back to touch the back of the card.

Assemble the letters and tools, customizing the text as you see fit.

Glue the letters and tools onto the card. That's it! Please like/share this design if you enjoyed it, and feel free to tag me in all of your creations on social media!