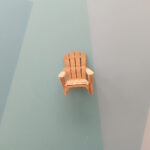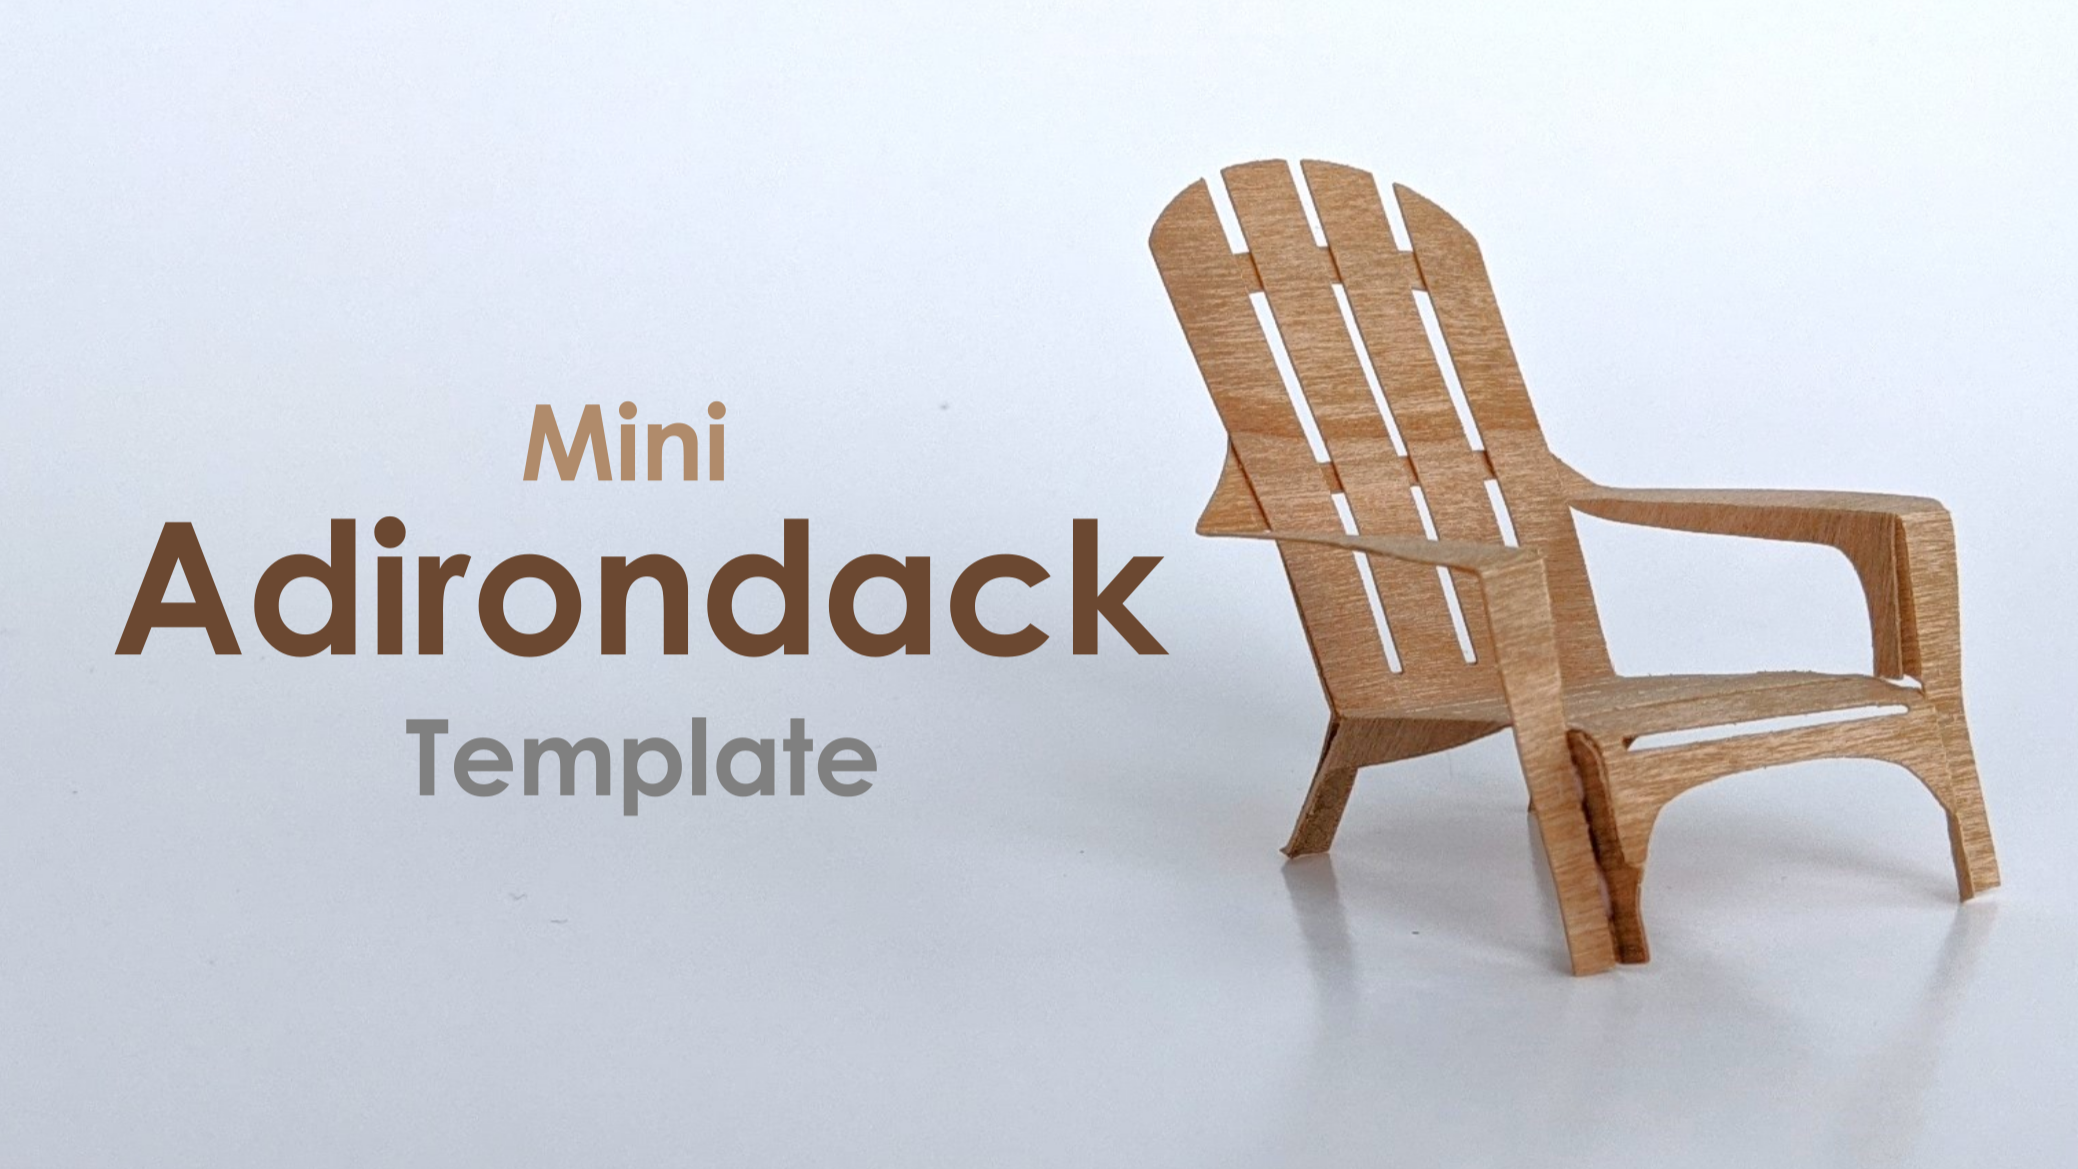
I created my first mini chair template a while back and could not wait to create more! Instead of a Mid-Century Stool like my last project (that can be found here) I decided to go a different route. I was inspired by the classic, plastic, Adirondack chair. Apparently these are made of wood sometimes – who knew? Let’s make a mini Adirondack chair!
Paper or Plastic
Creating this little chair was easier than I had anticipated. First, I studied a plastic version to understand of the various folds the template would need. Although plastic manufacturing (I imagine) is different that folding a template, I was able to draw some insights from the plastic model. I could tell areas where the design needed additional support, which would hold true with a mini paper version as well.
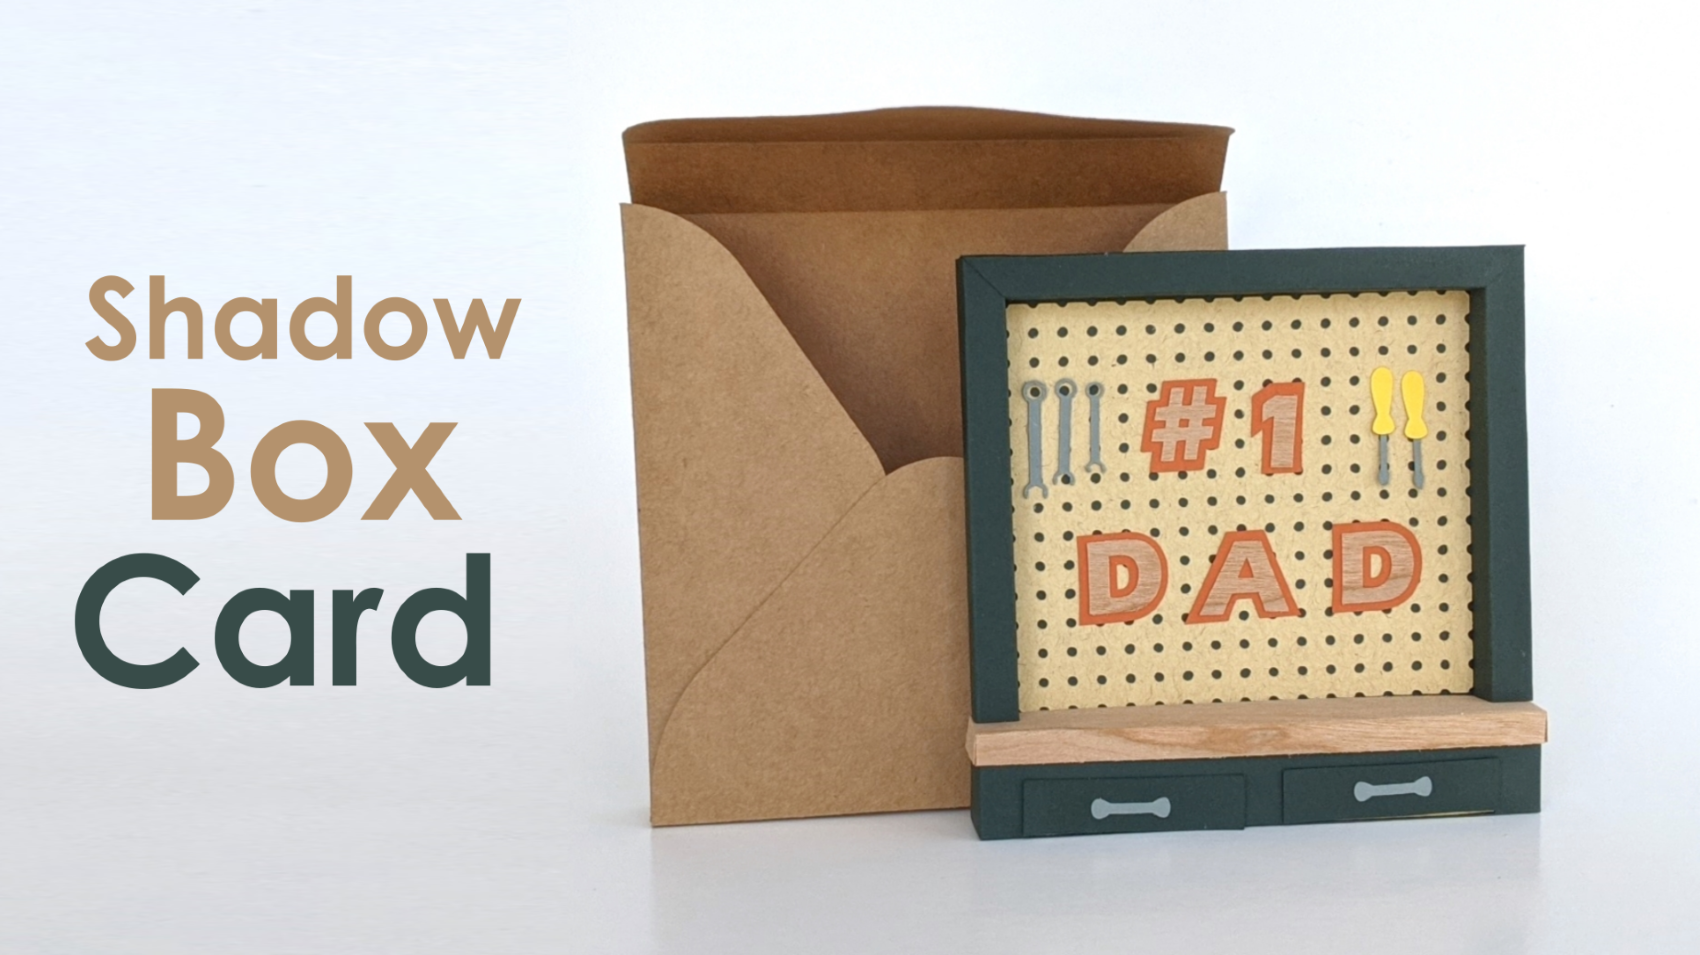
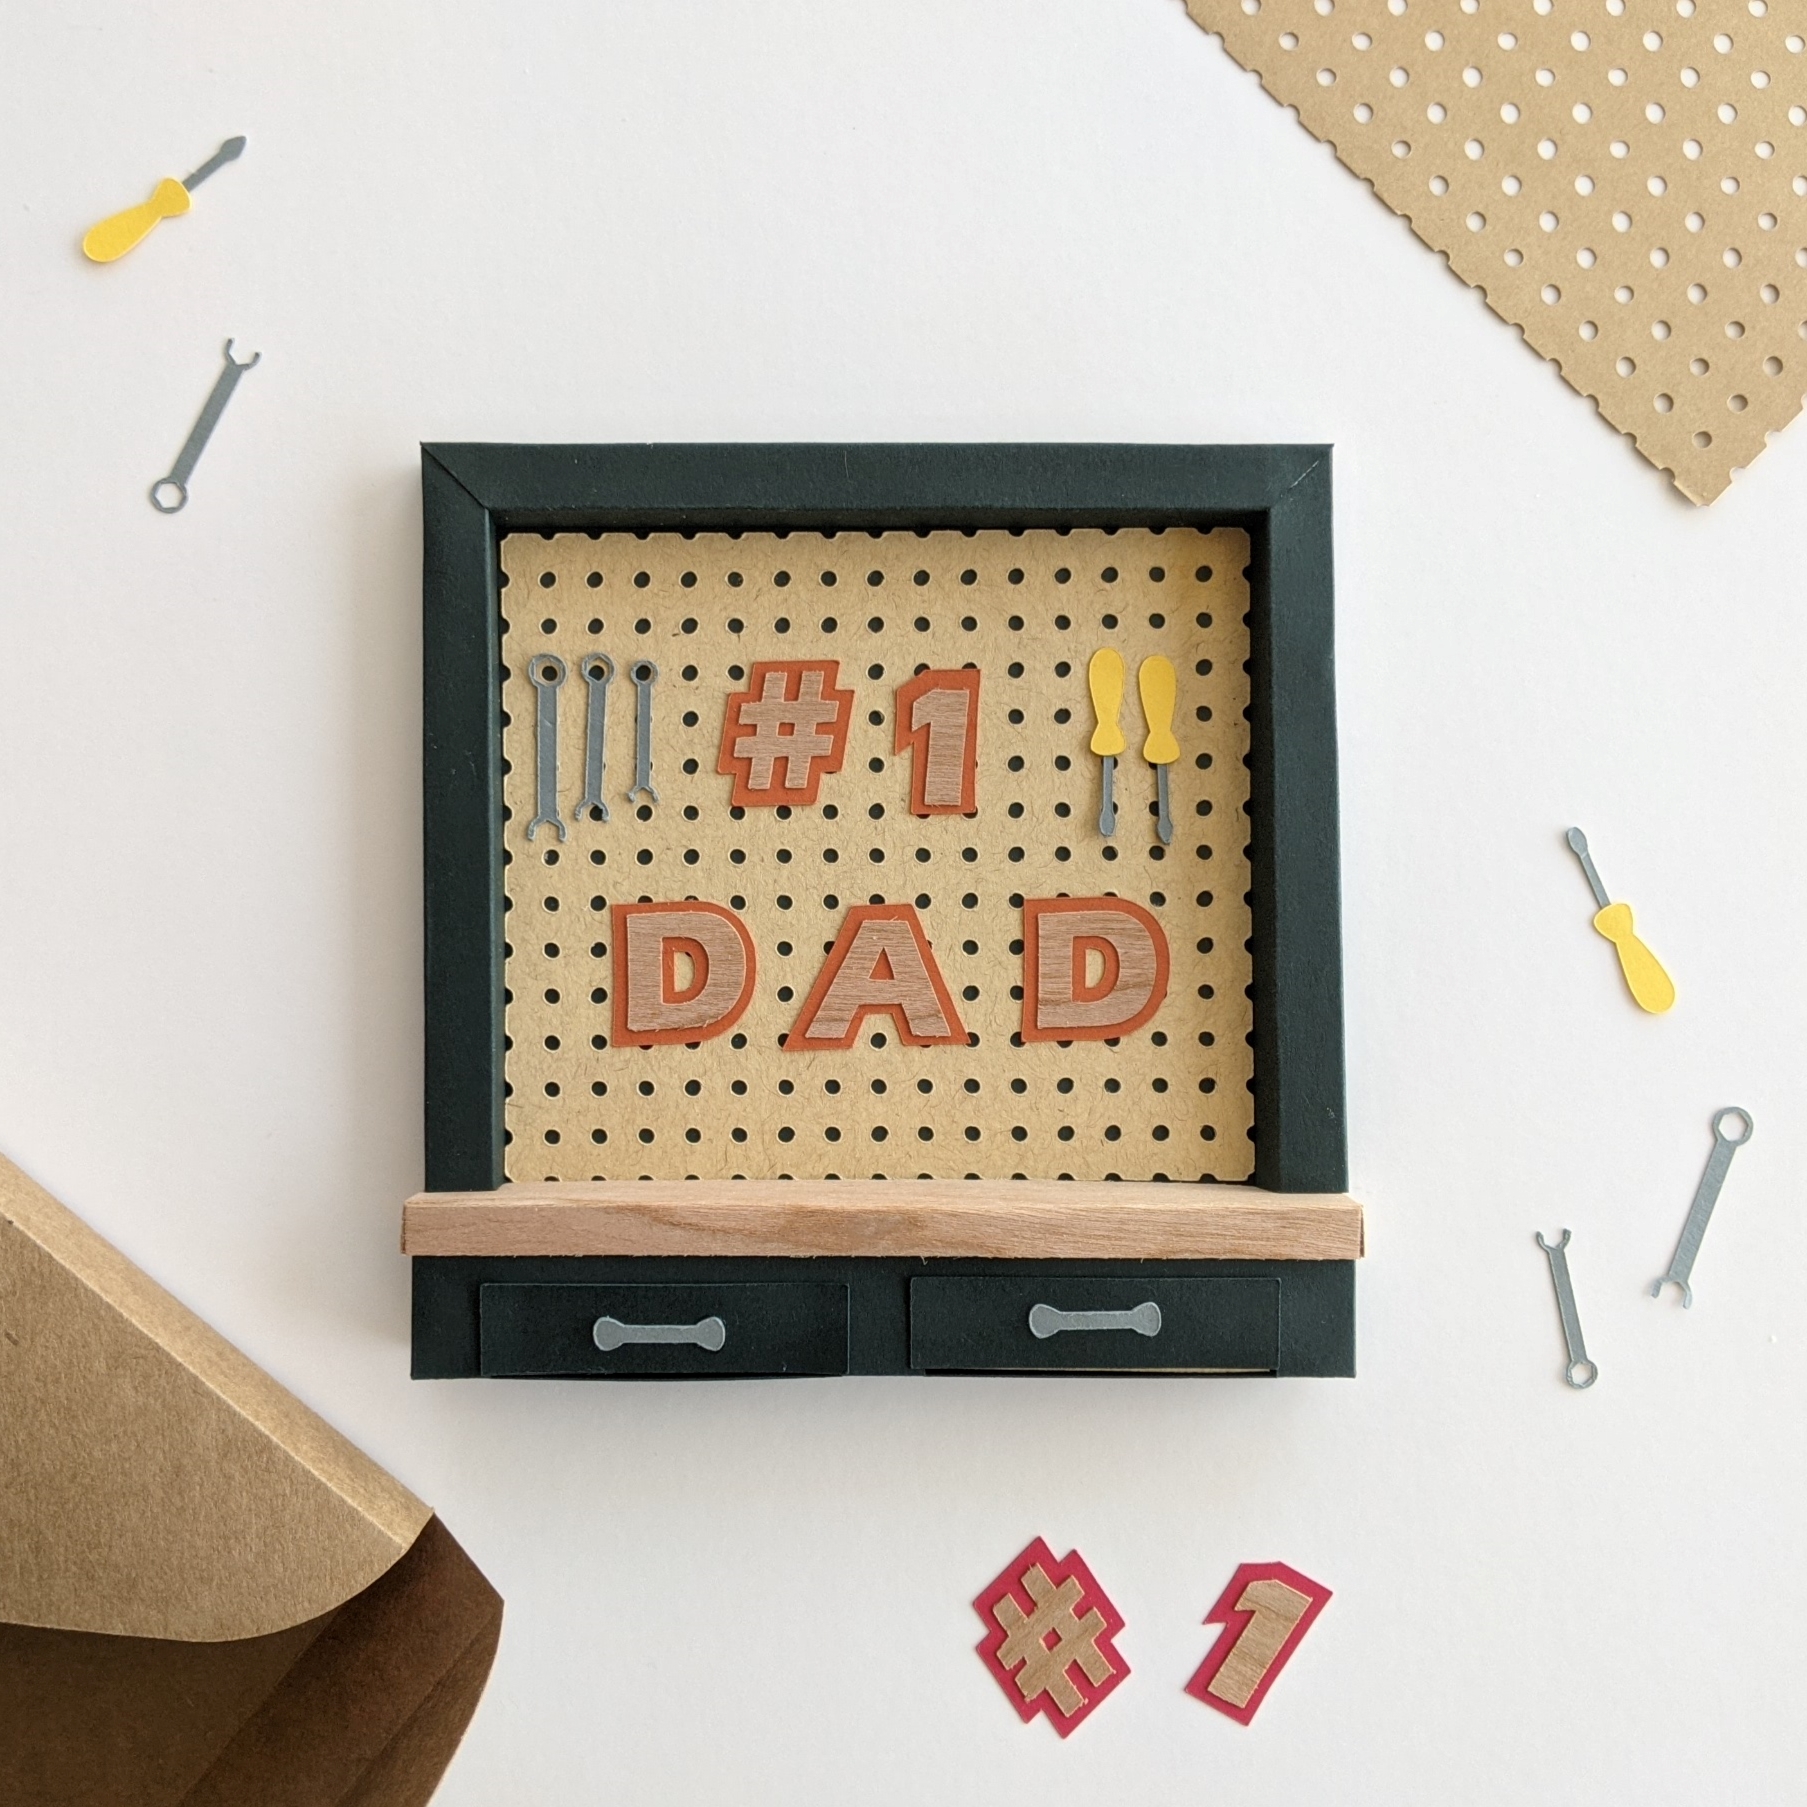
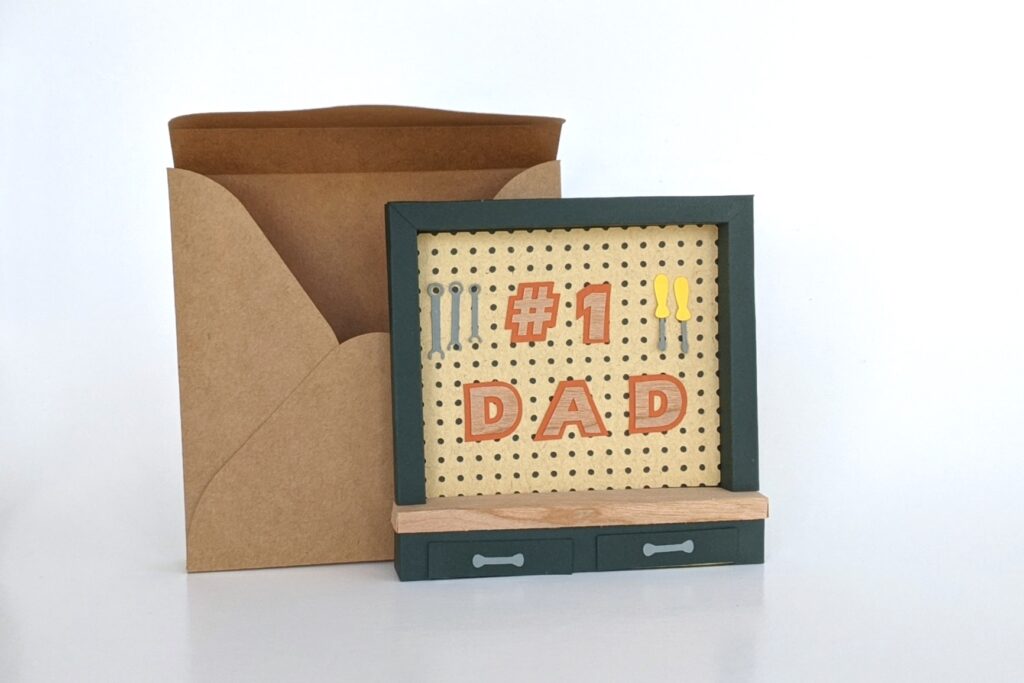
After toying around with the cardstock prototype I had made I remembered a paper that I had used on a previous project. Wood veneer cardstock! I used this on a shadow box card I made and the results were GREAT! The product cut so well, was able to be stained, and glued perfectly with my Bearly Art glue. Of course I was excited to use it again here! I hoped it would perform as well as cardstock when assembling, but only time would tell!
Cutting the Mini Adirondack
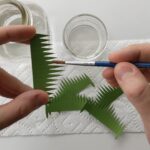
At this point I had worked through quite a few cardstock versions in order to get the dimensions right and was ready to move on to the main event. Next, I placed the wood veneer onto my cutting mat with masking tape, changed out the blade on my Cricut Maker, and hoped for the best. This template is slightly more intricate than other designs I have used the wood veneer for so I was a little nervous.
The machine hummed along and I heard the beautiful splintering of this cardstock. Really – the sound is pretty soothing. When the cut was complete I removed the item from my mat. It was cut perfectly! I used the glitter cardstock setting, but have also had success using the Heavy Cardstock setting with ‘More Pressure’ selected. You will know what works best for your machine.
Let’s Assemble the Wood Veneer
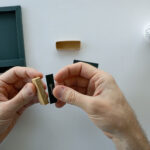
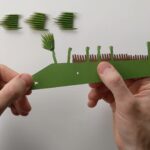
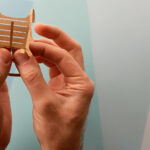
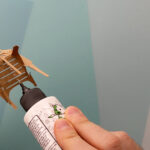
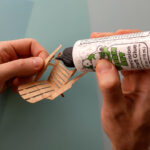
I began by folding all of the score lines. The wood veneer gives a very satisfying ‘crunch’ when you fold against the grain, sort of like biting into a kettle style potato chip. You have to hear it for yourself! And don’t worry – there is a kraft backing that holds everything together, your template isn’t going to break apart.
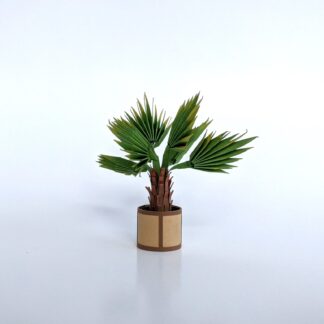
Next I proceeded to glue the template together from the back legs moving forward. The folds all fit nicely together and the Bearly Art glue held onto everything perfectly. It was complete and I was so pleased with how it turned out, especially the wooden version. It looked so realistic!
Materials For This Mini Chair
I used my Cricut Maker to cut both the cardstock and wooden versions. I use 65lb cardstock for almost everything I create and that was no exception here. You can try using 80-110lb cardstock, I think it should work, but I can’t say that I have tested this design with those weights.
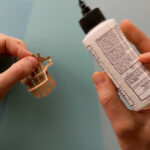
In the tutorial and video below you see me using my trusty Bearly Art glue. The glue is amazing for mini projects like this one. If you are looking for glue and Bearly isn’t an option for you, try to find something that is fast drying.
Everything I have mentioned here can be found in my Amazon storefront and linked below. I will note that I used the Cherry finish for the cardstock in my photos, but White Birch is linked below (this one can be ‘stained’ any shade you like).
Make A Mini Adirondack Chair
Are you ready to “Make It”? Click the “Add to Cart” button to the left to purchase the template. Grab your paper, glue, and I’ll see you in the tutorial down below!
Disclosure: this post features affiliate links (noted with bold), meaning if you purchase the product via my link I could earn a small commission. All products referenced are items I personally use for my crafts.
Mini Adirondack Chair
Craft your own miniature Adirondack chair with this cutting machine template!
- Cricut Machine
- 65lb Cardstock or Wood Veneer
- Craft Glue
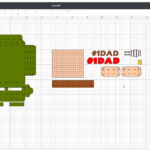
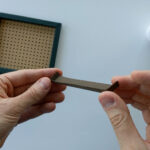
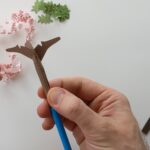
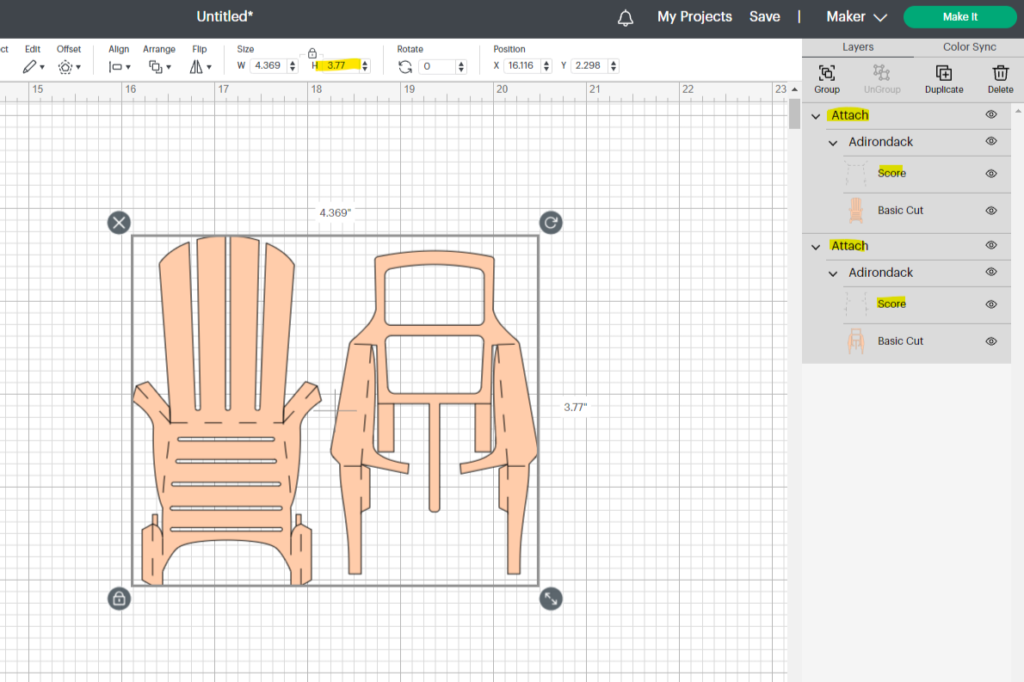
Open the document in your Design software. There are scale notes inside the download folder. You will need to score the top layer within each subgroup before cutting.
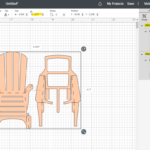
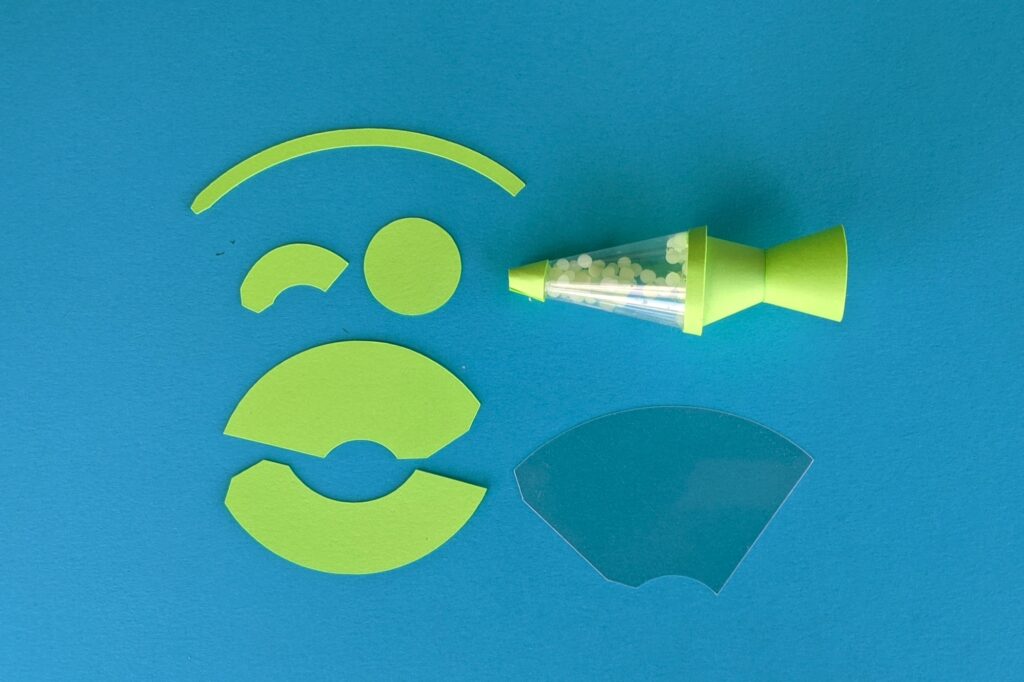
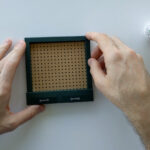
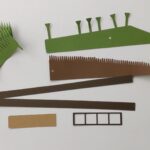
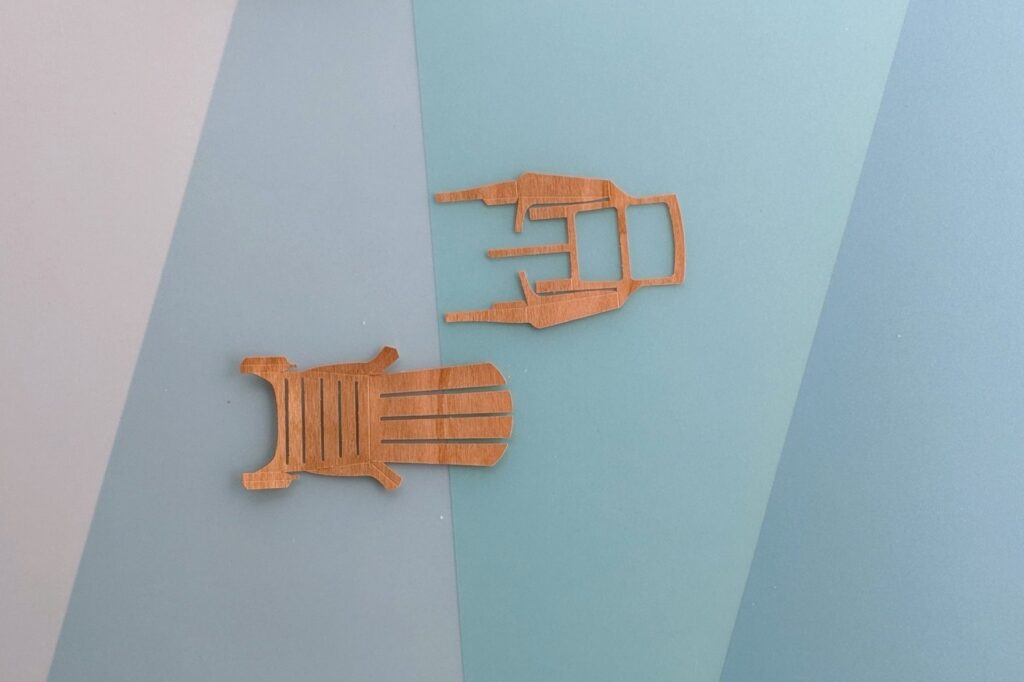
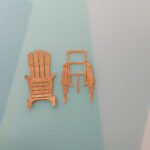
Begin by cutting your shapes using a Cricut or Silhouette cutting machine. Once finished, you should have two shapes as shown here, each with score lines.
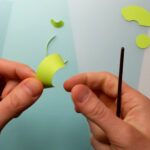
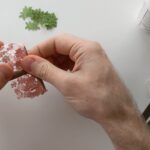
Fold all of the score lines for both pieces.

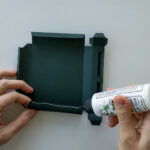
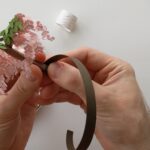
Glue the two pieces together starting with the back of the seat. You will notice a crease on both sides that fit together. When glued here the back leg from each front/back piece will align perfectly.
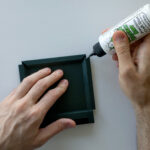
Glue both back legs to the corresponding front/back piece.
Glue the piece under the seat to the underside of the seat.
Glue the long panels of the chair onto the back piece.

Glue the tab on each arm to form an arm rest for each side.
There is a very small tab on the front of each leg, glue this to the underside of the chair. This will create a curve down on the front of the chair.

Glue the bottom piece of the arm rest you made earlier onto the front legs.

You did it! Make sure to share this tutorial and design if you enjoyed making it!