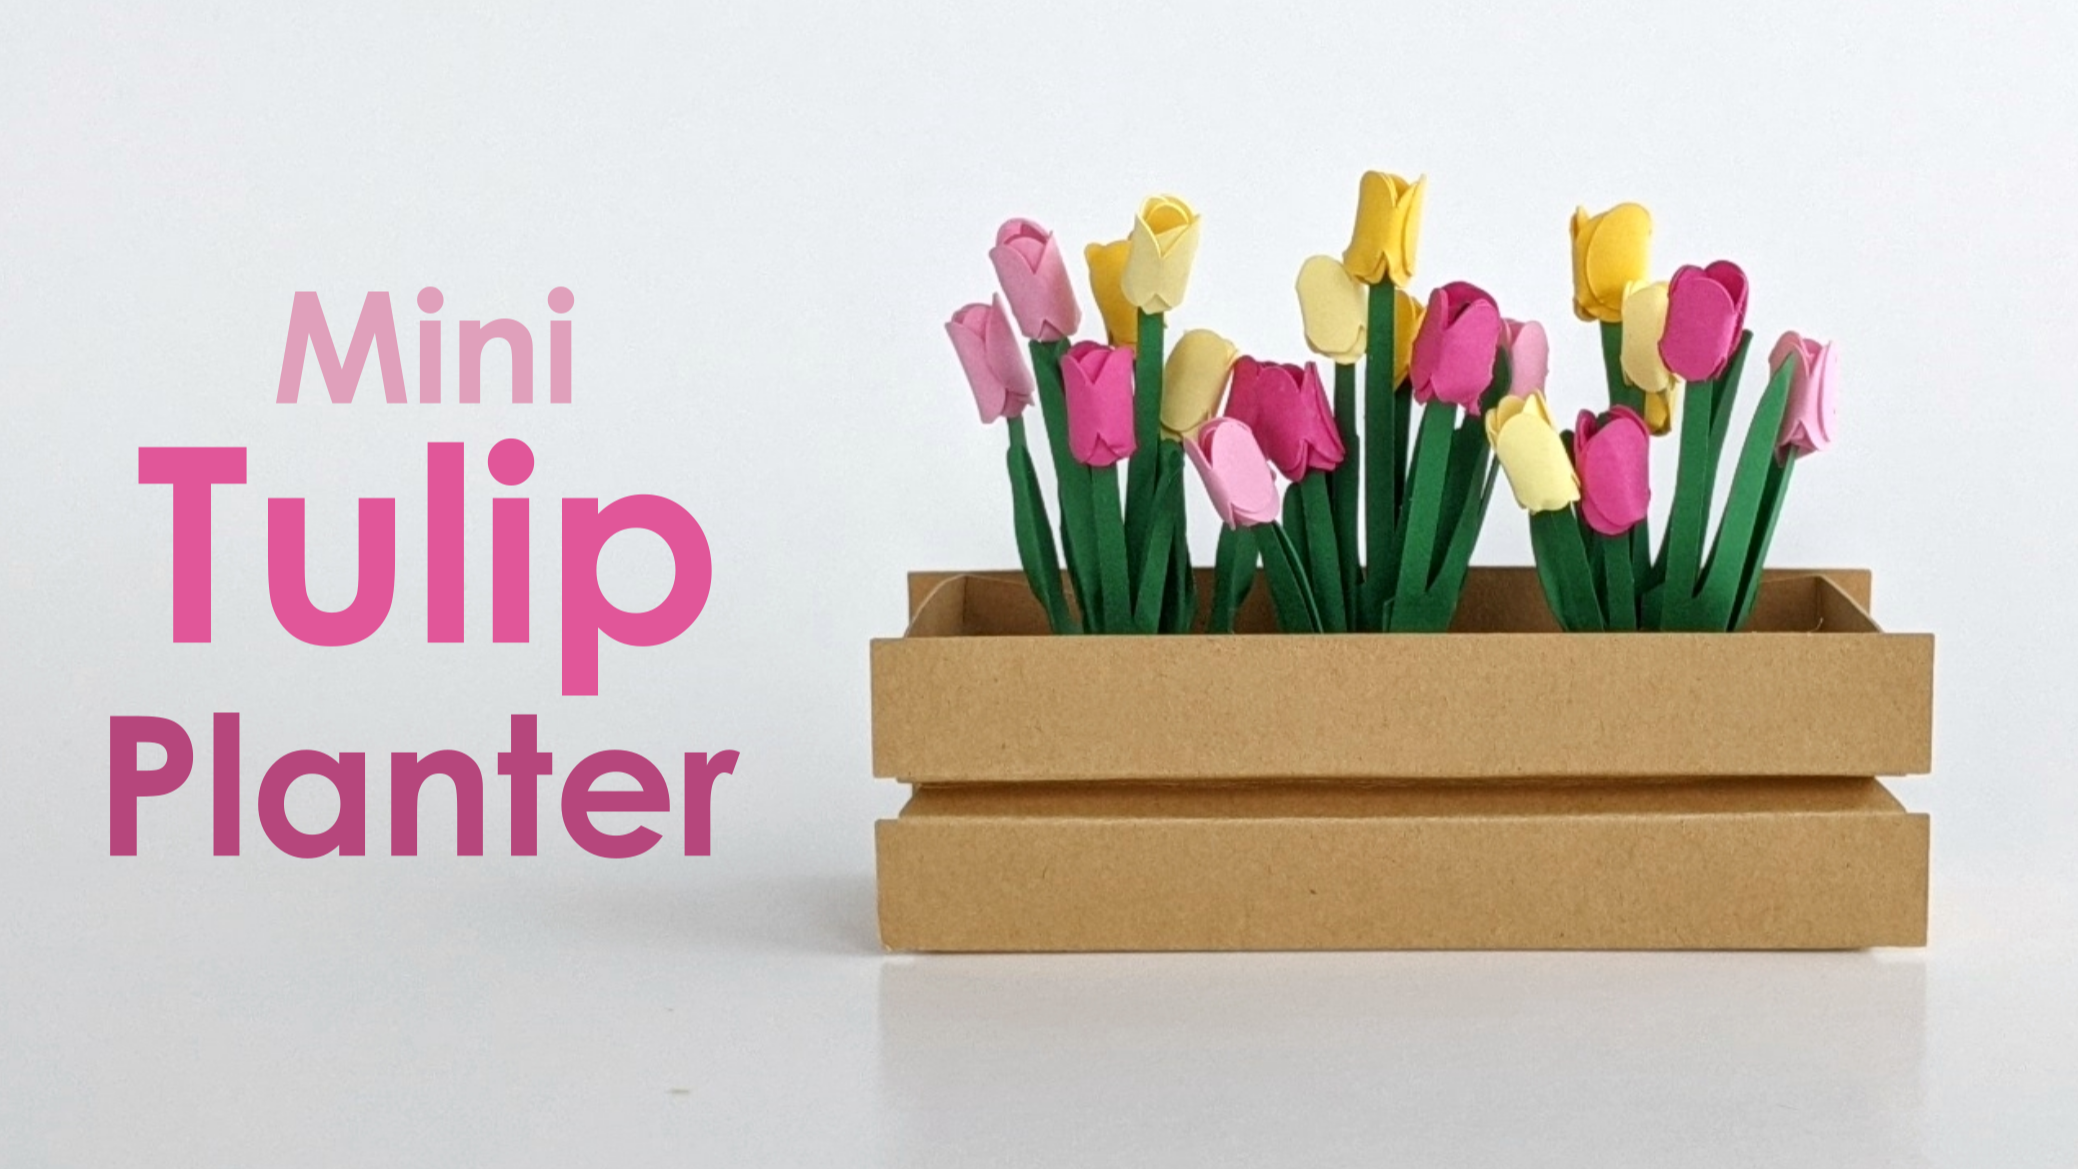
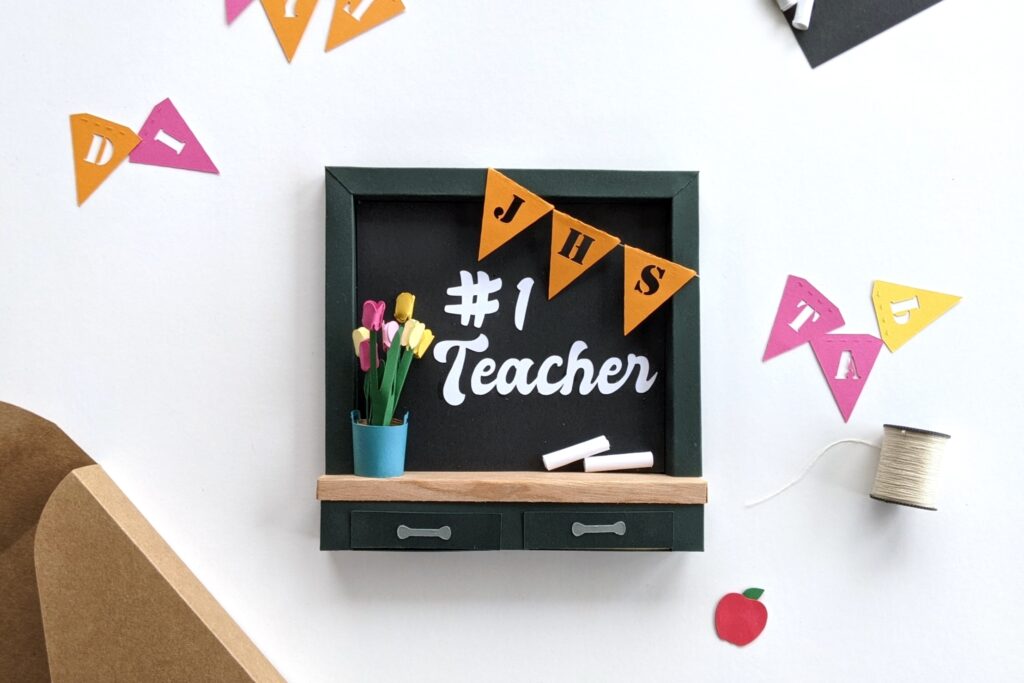
This Tulip Planter cutting machine template is an adorable solution to all of your crafting needs! The svg cut file works perfectly for miniature projects or papercraft gifts and cards. I have seen this svg cut file used for SO MANY purposes. Table setting name card holders, 3D shadow boxes, holiday crafts, dollhouse flowers. The list is truly never ending.
Flower Power
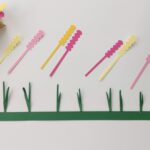
When making the tulip flowers I wanted them to be not too boxy, but not too flat. They had to be just right. I attempted a few approaches, but ultimately found that quilling them was the most effective way. I used a thin strip inside the flower so that the petal shapes on the outside would be more noticeable.
How Many Tulips
After ‘growing’ the perfect tulip, I needed to decide how many tulips to include in the template. I wanted the bouquet to look full, while not being too lengthy of an assembly process. Ultimately I decided on 7 flowers with varying heights. This allowed all the effort put into creating the bulbs to be on display in the final bundle.
What Next?
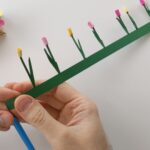
Creating the stems was the next challenge. I knew I needed to have the leaves fold in half along each stem in order to add the right amount of dimension. Rather than relying on the scoring tool, I embedded cut marks into the template that would mark the center of each leaf. Cutting into the cardstock like this makes for a cleaner fold.

Assembling The Cutting Machine Template
After everything was sized to my liking I cut the design on my Cricut Maker. While this is one of the more simplistic templates I have made, using a cutting machine in this instance was a huge time saver. It also allowed me to make multiple iterations to make sure the template was just right, which would have taken hours if I were cutting by hand each time.
I will note that the garden box you see used here was part of another design I did for Easter. I filled the box with tiny carrots and it was so realistic! You can check out that template here. That being said, I do not go into detail on how to assemble the planter box, but there is an instruction diagram included in the download folder (I promise – it’s easy)!
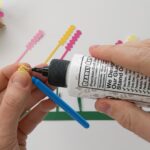
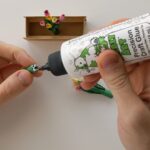
Following the cutting process, I assembled the template using my trusty bottle of glue from Bearly Art. I try and make it a point to reference them by name because I get asked on nearly everything I post about the type of glue I am using. The glue dries quickly which is a must, but if you have seen any of my mini assembly videos you will understand how amazing their ultra fine tip is! Links to Bearly Art from my website will carry over with a 10% discount automatically applied at checkout (as I am a member of their affiliate program).
Ready To Make it?
Ready to begin making? Grab the template from my shop here and scroll down to view the written instructions and video overview for assembling this fun flower bundle.
–
Disclosure: this post features affiliate links (noted with bold), meaning if you purchase the product via my link I could earn a small commission. All products referenced are items I personally use for my crafts.
Mini Tulip Garden Box

Create these tiny and colorful bundles of tiny tulips to fill your garden box.
- Cutting Machine
- Quilling Tool or Stick/Pen
- Craft knife
- 65lb Cardstock, various colors
- Craft Glue
Begin by cutting your shapes with a cutting machine (or by hand if you're patient). There are notes inside the download folder regarding the scale of the items. If don't have the template yet there is a download link in the post above.
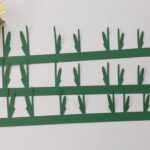
Lightly score each leaf down the centerline. The line will already be marked with perforations from your cutting machine, but this will make the fold easier/cleaner.

Fold each leaf in half along the center line you just scored.

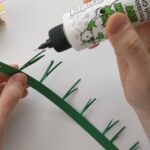
Place a drop of glue inside each folder leaf and press it in place until the glue holds.
Collect your flower pieces, now is a great time to plan the colors if you are using a mixture like me.
Use a quilling tool to roll each flower. Insert the straight edge end into the tool and twist from left to right.

Once you reach the end of the paper, use a small drop of glue to seal the flower. Repeat for the remaining flowers.
Glue each flower onto a stem. The stem piece should fit inside the center hole left behind by the quilling tool. I used a small drop of glue to hold my tulips onto the stems.
Use your quilling tool again to roll the entire piece from left to right, glue to seal.

Repeat this process to make additional bundles of tulips. I used 3 total to fill the planter box.
**Planter assembly is not shown here (sorry!) but there are instructions in the download folder**

Glue the base of each tulip bundle into the bottom of the planter.
All done! Step back and admire your work. Make sure to share this post so others can enjoy making my templates as much as you have!