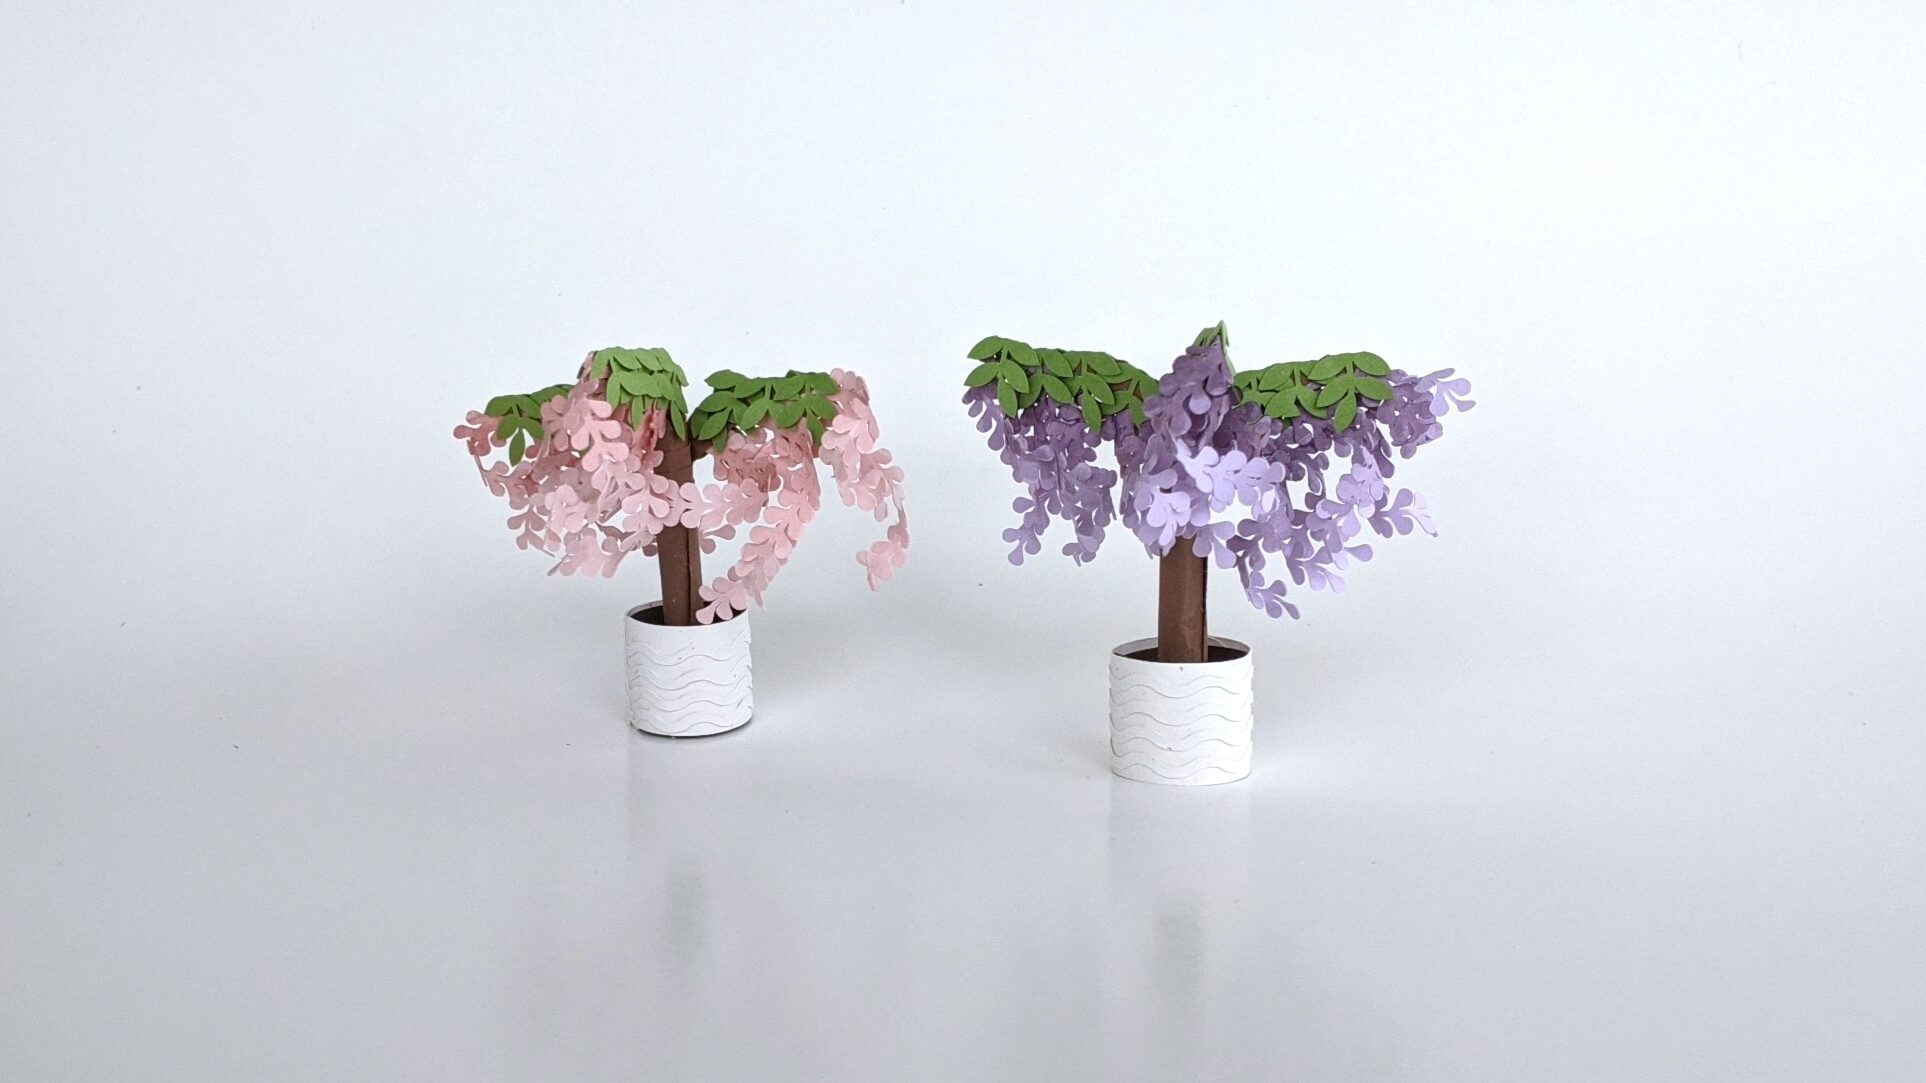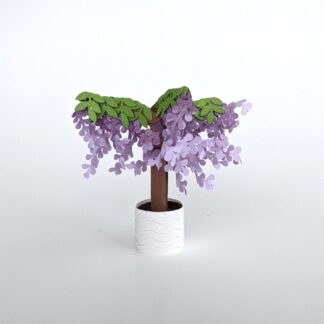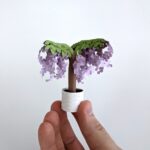
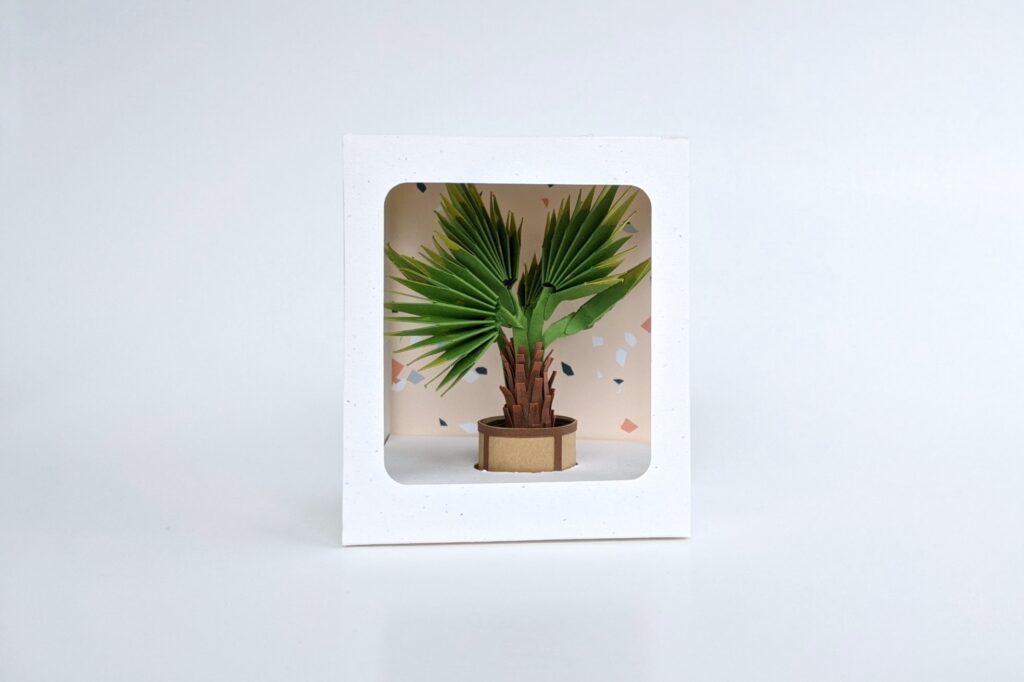
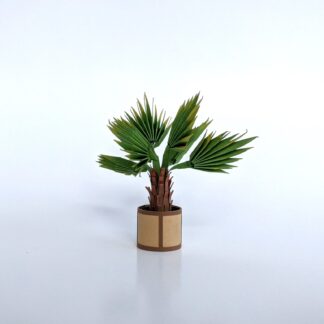
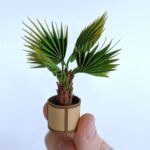
Lets make a mini paper palm tree! This was my second miniature palm tree template and I did not expect the design to be as challenging as it was. I set out to make a fan palm, or Washingtonia, which is something I encounter (surprisingly) regularly on my daily walks with my dog. You typically see these trees buried in landscaping, they are low to the ground with broad fan shaped fronds. I thought that my daily exposure to this plant would aid in developing the svg file; I was wrong.
Making the Leaves
Figuring out how to replicate the folding leaves without over complicating the miniature design proved to be the biggest challenge. I wanted to preserve as much detail as possible, but at some point 65lb cardstock did not agree with what I was trying to do. After some trial and error, I realized my zigzag folds along each leaf were too intricate. By enlarging the design ever so slightly it would be better suited to the paper I intended to use.
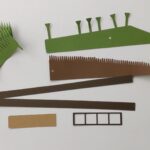
After sweeping away the pile of miniature trees on my desk, all with slightly different and unsuccessful palm leaves, I took a newer, more simplistic approach. The leaves had fewer zigzags, but the space added between each one added a ton of texture – which was great! Now that the leaves were perfect, I needed a way to adhere them to the template! Arranging 6-8 branches on a single sheet of paper would not be possible without overlapping shapes. So, I decided to cut the leaves separate from the base and affix them to the main part of the tree after they were folded.
I began with 8 branches, later cutting it down to 6 in order to keep the leaves from taking over the whole mini plant. Each leaf would be zigzag folded and affixed to the main piece of the tree. After the leaf issue was resolved I realized I needed to tackle another hurdle: the bark!
Barking up the right Paper Palm tree
I love how palm trees shed their leaves and leave behind this crisscross of stubs along the trunk. Finding a way to replicate that texture was a non-negotiable. I arranged the these stubs along the edge of a sheet of paper, then cut it using my Cricut Maker.
Next I glued this to the branch piece and it was ready to roll up! I get asked a TON about the brand of glue you see me using in my videos. It is from a company called Bearly Art. You can find the glue I use here, along with other craft supplies they carry and some free svg files. Links to Bearly Art from my website will carry over with a 10% discount automatically applied at checkout (as I am a member of their affiliate program).
If you have never seen any of my plants assembled please make sure to check out the video I have included below (it will help these written instructions make much more sense). I used my new quilling tool to roll the piece up and it was much easier than the bamboo skewer/tape method I had been using in my previous videos. The quilling tool held everything in place nicely and pulled out very easily once the tree bark had been glued onto itself.
Add Some Color
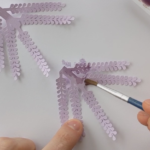
After stepping back to get a good look at this design and realized it was still missing something. The bark and branches were spot on, but it needed a bit more…depth. I remembered seeing a blog post a while back where a crafter used bleach to add color to their papercraft and thought this would be the perfect time to try that out! I watered down some bleach and used a brush to apply a small amount to the end of each palm branch. It slowly dried and left behind an amazing splotchy yellow-green that no paint could replicate. The design was complete!
Ready to begin making? Grab the template from my shop here and scroll down to view the written instructions and video overview for assembling this tiny tree.
Disclosure: this post features affiliate links (noted with bold), meaning if you purchase the product via my link I could earn a small commission. All products referenced are items I personally use for my crafts.
–
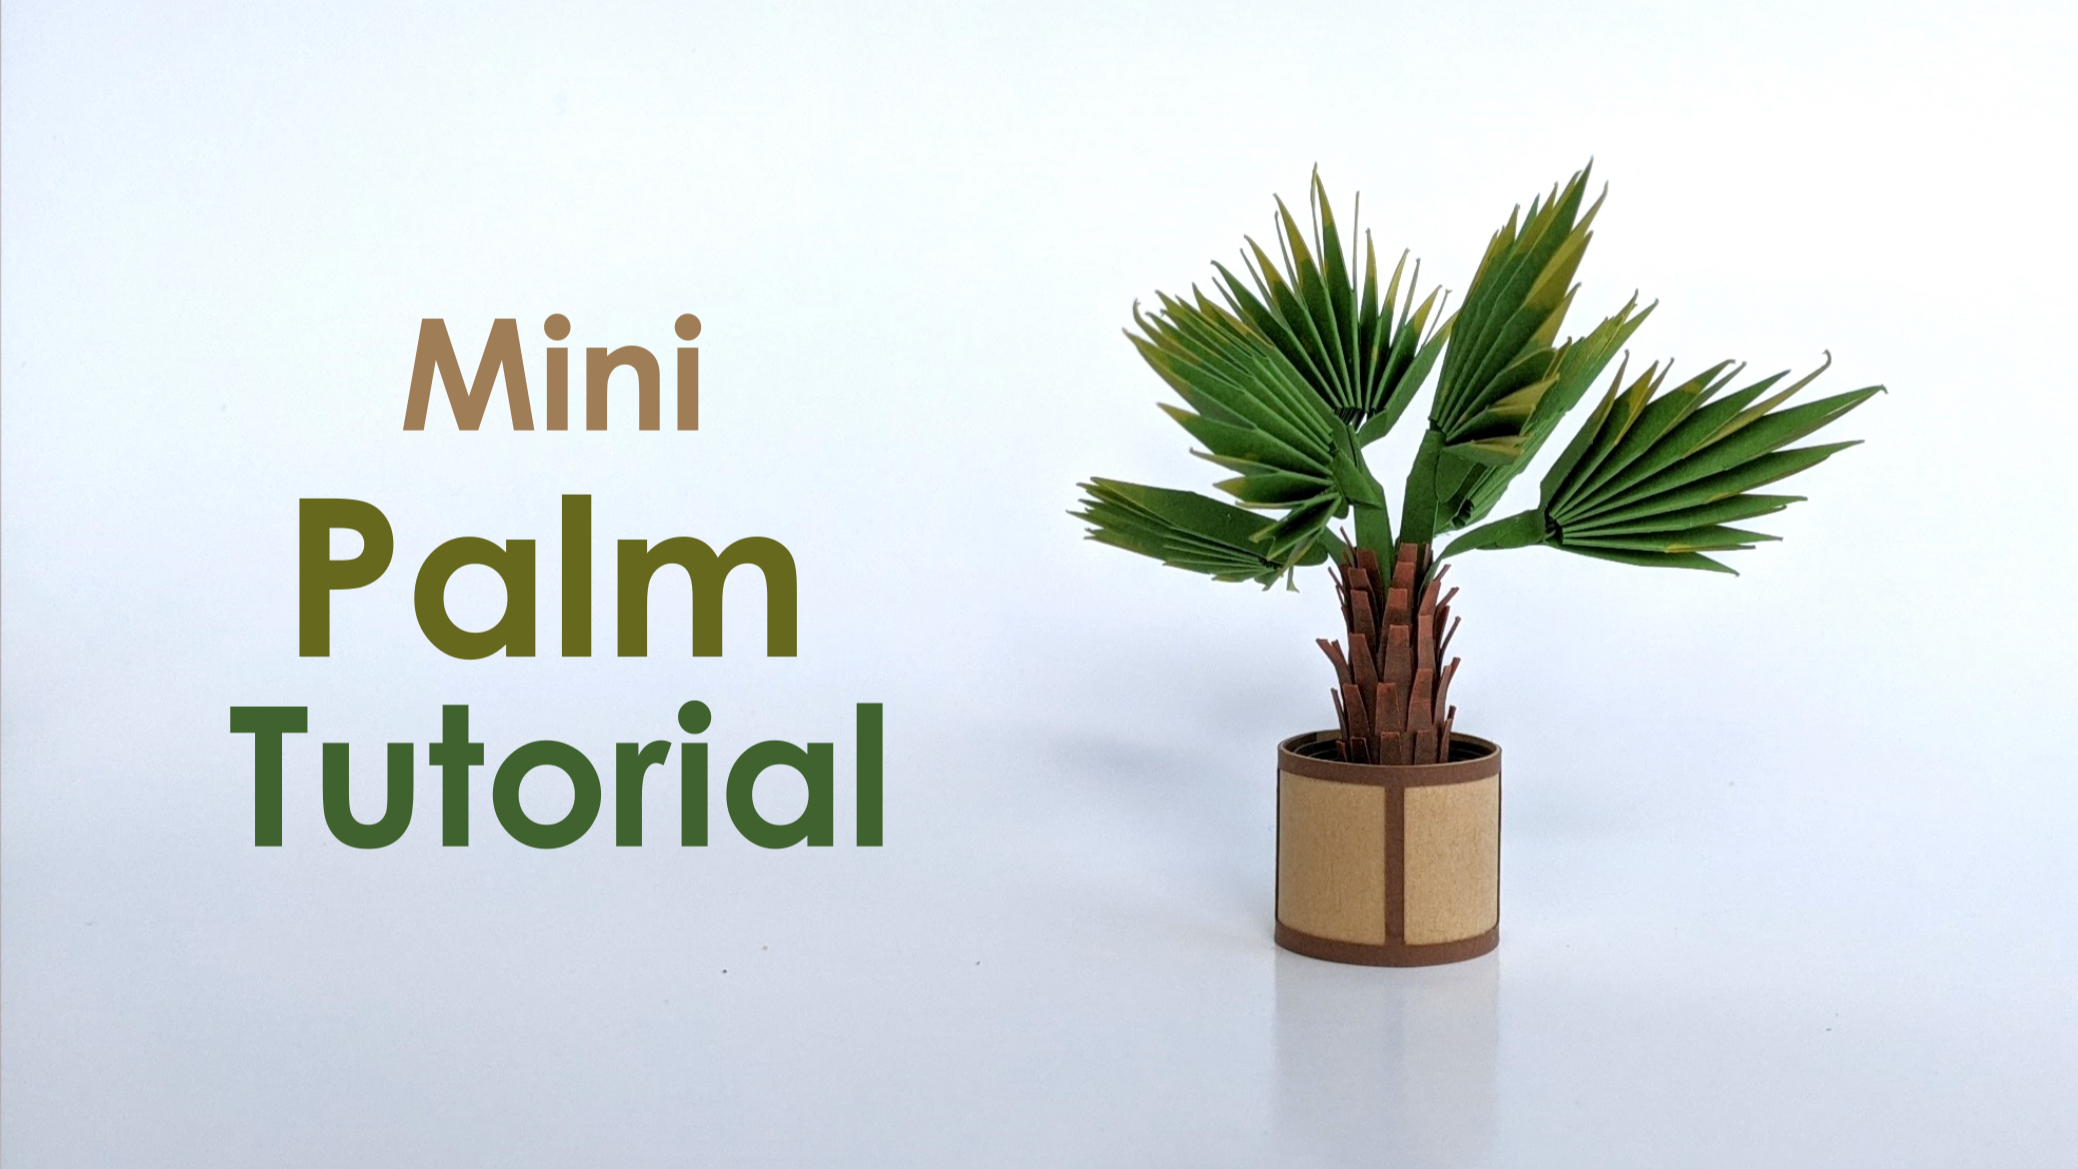
Fan Palm Tutorial
Create your own scale miniature paper fan palm tree using this instant download template.
- Cutting Machine
- Quilling Tool
- 65lb Cardstock (various colors)
- Craft Glue (fine tip nozzle preferred)
- Bleach Water (optional, for coloring leaves)
Get the template! If you haven't already downloaded the cut file for this design, you can get it from the article above by clicking "Add to Cart."

Cut (and score) the template on your machine. I have included notes within the download folder on how to scale the template before cutting so your size matches mine.
(Optional) Add some color to your leaves and tree bark using bleach water. I used a 1:4 ratio and gently brushed it along the edge of each leaf and the tips of the bark. I allowed each piece to quickly dry/lighten in the sun before moving on to the next step.
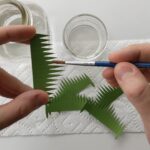
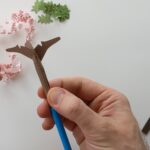
Begin folding the leaves. You will notice numerous score marks along each leaf. These should each be folded the opposite way to create a zigzag (the fan!) texture. There are two tabs at the bottom of each leaf, these will be used later to hold the leaf onto the branch.

You will notice a circle cutout on the main leaf piece and also the bark piece. Align these pieces on top of each other so the circles overlap. Glue them together using only a drop of glue above and below the circle. If you glue the entire strip it will crumble when you roll it up.

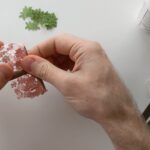
Glue each assembled leaf onto one of the stems from the base. I like to fold the stem in half at the end so the two leaf tabs wrap around it nicely, but you can adhere this any way you like.

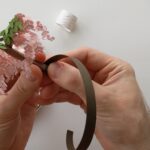
Use a quilling tool (or stick/tape) and affix it to the bottom left of the template. Begin rolling tightly from left to right, wrapping the template around itself.
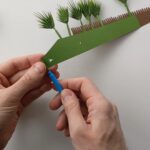
When you have rolled all the way to the end of the bark, use a dab of glue to seal the plant together.

Make the planter by gluing the long solid rectangle to form a cylinder. I usually 'curl' my piece before gluing, like you would Christmas ribbon, so it doesn't get any unwanted creases. Once you have the base of the planter, you can affix the additional portion around the outside edge for more depth.

Use your strips of 'soil' to continue wrapping around the base of the tree. This thickens the bottom so it will fit snug inside the planter.

Once you have wrapped ~2 long strips of soil around the base of your plant tightly hold it in place so it doesn't unravel. Use one hand to remove your plant and soil from the quilling tool and insert it into the planter. Once it is inside the planter and you let go the soil should unravel and hold it in place.

You did it!