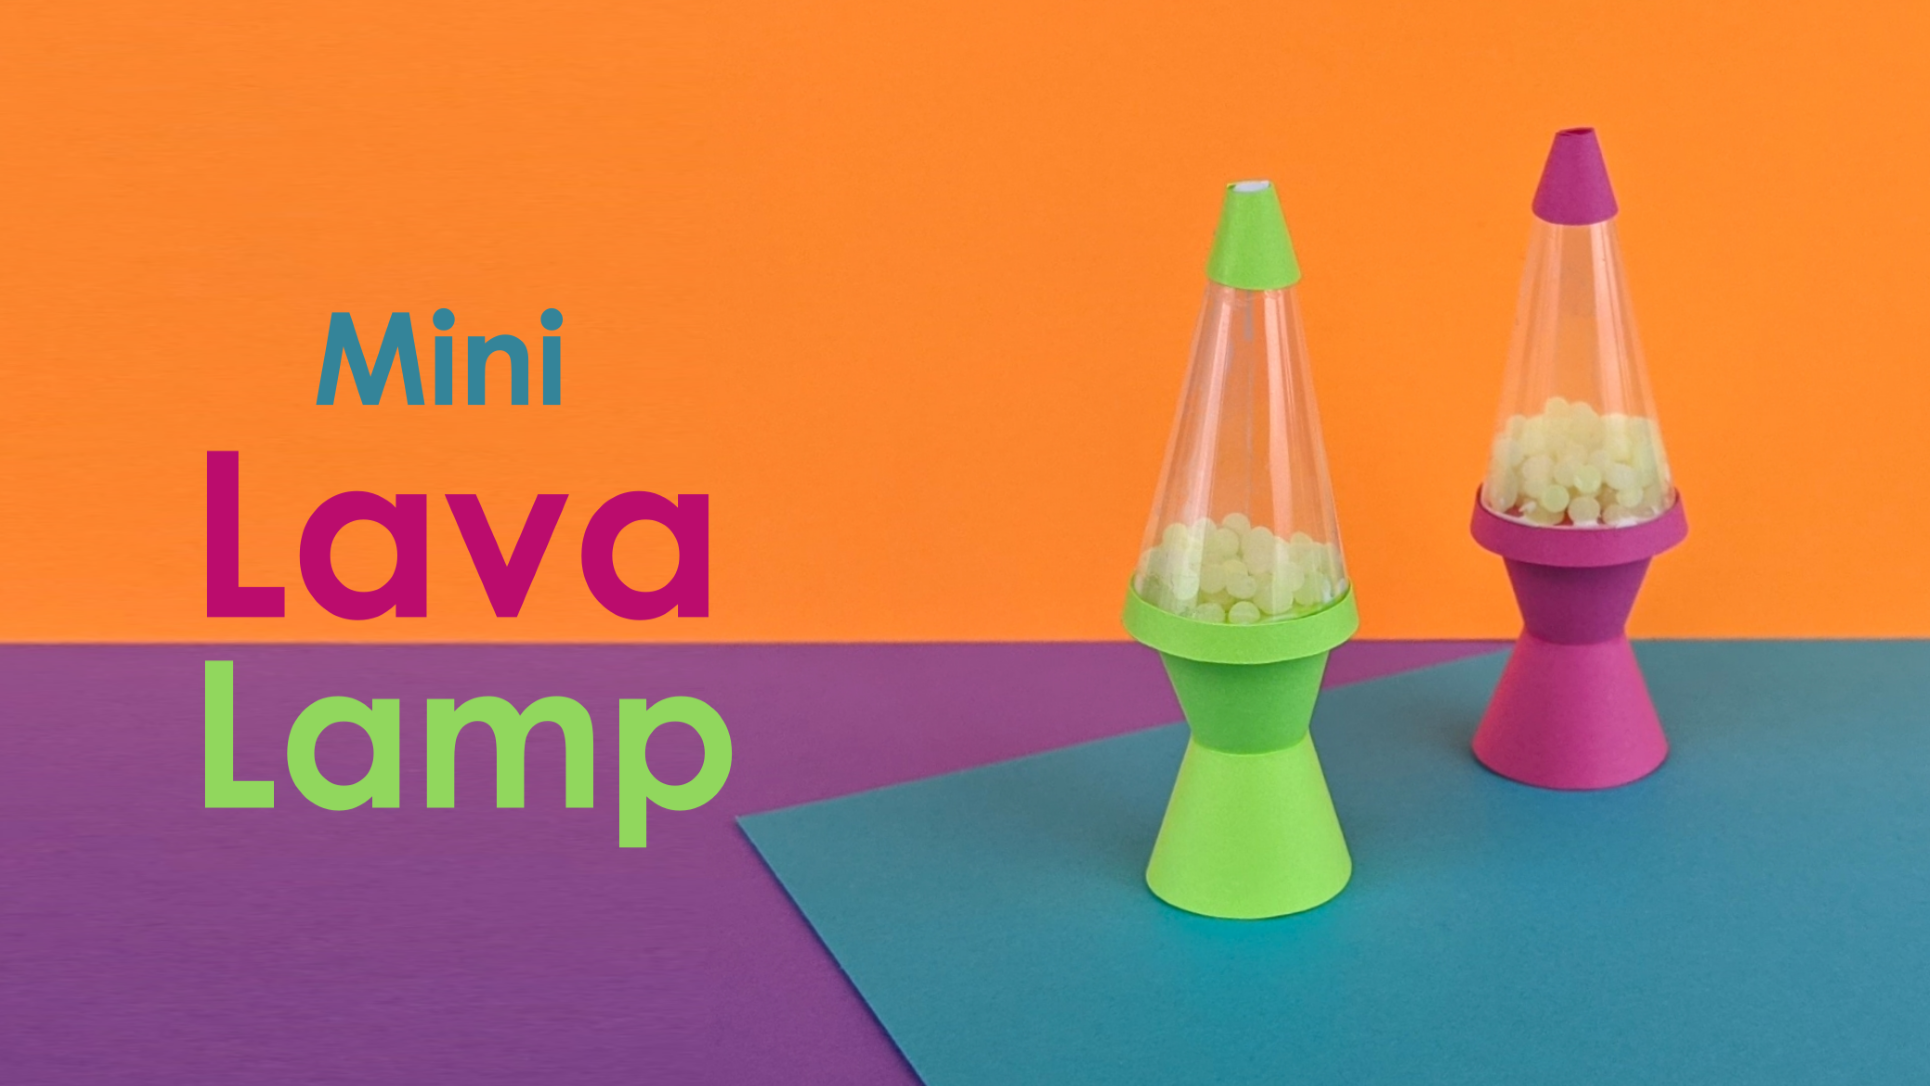
Is there anything more iconic than a lava lamp? While I was not around for the initial debut in the 1960s, the 1990s resurgence of this gem is something I remember fondly. With the reemerging trends of the y2k era I thought this would be the perfect craft. Follow along with me as I design, cut, and assemble this mini lava lamp template.
Let’s Make Something Groovy
Starting this project saw me bouncing between doing a ‘square’ lamp or a rounded lamp. I knew that the square folded edges would be easier to assemble, but the curved shapes would give a better end result. After a few attempts at the square edges, I decided to abandon that approach. If I was going to capture the nostalgia of a lava lamp, I needed to do it justice. Curved edges it was!
Doing a paper craft with conical shapes is…challenging. Straight lines and folds lend themself to a quick and easy assembly, but once you start bending and creating more organic shapes things get tricky. Consequently, working at a tiny scale, such as this, doesn’t make things any easier. As I crafted the shapes for this mini lava lamp I added tabs to each of the pieces, to make the design as easy to replicate as possible.
How Much Detail Is Necessary for a Mini Lamp?
I truly admire the miniaturists I follow on social media. They make their objects from scratch, use so many types of media, and deliver AMAZING results. I was motivated to present some level of detail here in terms of the shape of the design. While different finishes would be up to the person assembling, I wanted to make sure to put forward a good foundation for them to customize.
Once I perfected the cone shape for the clear acetate (where the lava does) I moved on to the ‘metal’ pieces: the base and top portion. I added a small cone to the very top and another around the base of the clear cone. This would give the effect of the cone being encloses by metal. The base was my next challenge. To have two organic shapes, like cones/circles align perfectly for gluing is a struggle. After a bit more T&E (trial and error) I realized I could have one cone insert into the other. This way, regardless of if they are sized perfectly, they would ‘catch’ and could be aligned nicely.


It Needs Something…
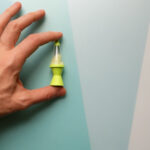
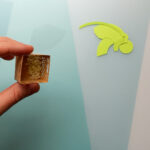
The base was finished, as well as the main cone. Next up, I attempted using cardstock for the lava pieces inside. The cardstock was too chunky for the small space and, as a result, didn’t give enough movement. I remembered that I had some glow in the dark powder from a previous project (check that out here) and thought it could make something cool happen with it. I proceeded to paint a few beads with the glow powder ad filled the cone. After charging the glow in the dark beads for a quick minute I switched off the lights. I was glowing. Ans so was my lamp!
Cut File Assembly
Assembling this little lamp was ultimately straight forward, once the template design was complete. Due to the simplicity of the shapes they cut easily with my Cricut Maker. They are not intricate at all and only require a few inches of paper. This is another great template to use up your scraps from larger projects. If you do not have a cutting machine, these shapes are even simple enough to cut with scissors!
In the tutorial and video below you see me using my trusty Bearly Art glue. The glue is amazing for mini projects like this one. If you are looking for glue and Bearly isn’t an option for you, try to find something that is fast drying. I would also recommend some form of super glue or hot glue for the acetate portion.
Make A Mini Lava Lamp
Are you ready to “Make It”? Click the “Add to Cart” button to the left to purchase the template. Grab your paper, glue, beads, and I’ll see you in the tutorial down below!
Disclosure: this post features affiliate links (noted with bold), meaning if you purchase the product via my link I could earn a small commission. All products referenced are items I personally use for my crafts.
Mini Lava Lamp Shaker

Create your own miniature lava lamp with this papercraft template for cutting machines.
- Cutting Machine
- Pen/stick, for curling paper
- 65lb Cardstock
- Clear Acetate
- Craft Glue
- Beads (for filling the shaker)
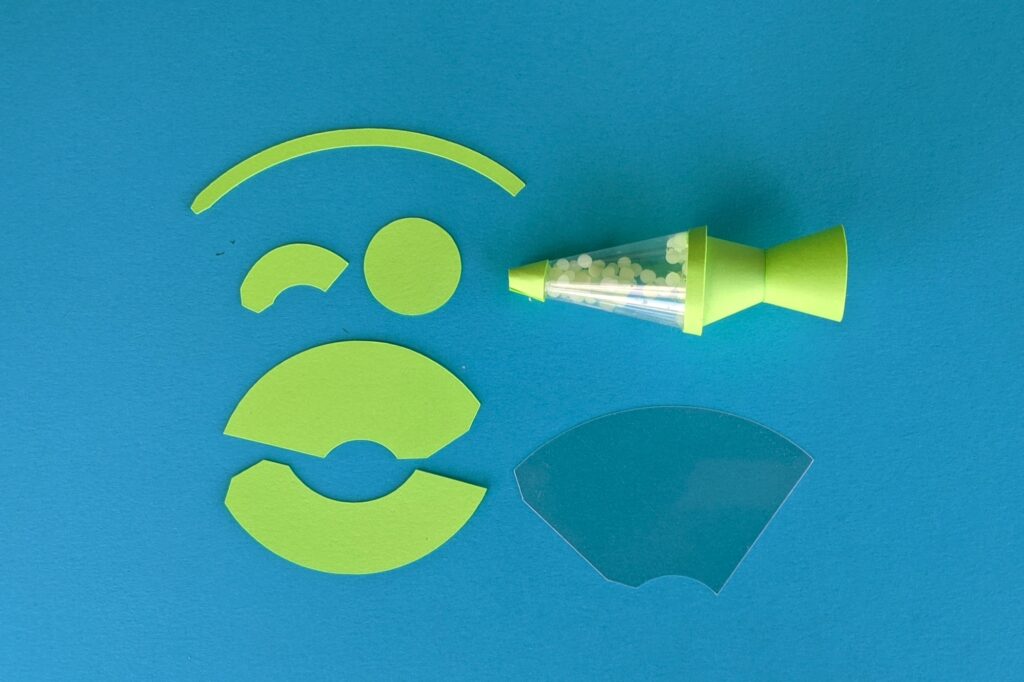
Begin by cutting your shapes and arranging your workspace. The cut file will have scaling instructions. Make sure to cut the acetate piece separately from the rest of the cardstock.
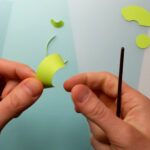
Use a pen, stick, of the end of a paintbrush to curl each of the cardstock pieces (except the one circle). This makes the gluing process easier and your shapes look neater.
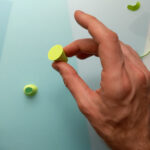
Glue each of the cardstock pieces to form a cone or circle shape. There is an angled tab on the end of each piece showing where to place the glue/overlap.

Glue the circle piece to the open end of the tallest cone. This is essentially gluing a straight edge to the flat circle, so be patient (and precise!)
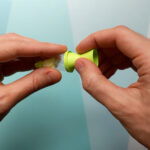
Insert the pointed end of the cone you just glued into the small end of the next largest cone. Glue it in place to form an hourglass shape. This is the base.

Glue the acetate to form another cone. The remaining cardstock pieces will form the tip of the cone and the bottom border. Glue them in place. You may need to place a dab of glue in the point of the cone to keep your beads from escaping, depending on their size.

Fill the clear cone with your beads.

Glue the base inside the bottom of the cone, with the beads.
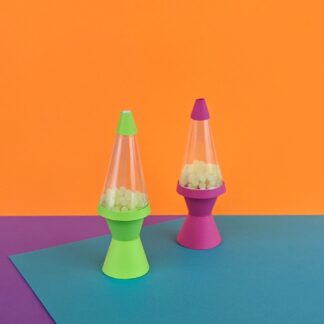
You did it! Give your mini lava lamp a shake! And don't forget to share this content if you enjoyed making with me!